

Epic Pen
About Epic Pen
Explaining something on a screen to somebody who is watching means pointing, and a mouse cursor is a poor pointer. Epic Pen replaces it with ink, letting you draw straight onto whatever is displayed, whether that is a document, a video, a spreadsheet or the desktop itself.
The mechanism is an overlay sitting above everything. The application underneath is not modified, does not know anything is happening, and carries on exactly as before. Annotations float on top until you clear them.
That works over anything on screen, including the start menu, the taskbar and applications that have no annotation feature of their own, which is the entire point. A cursor mode switches the ink off so you can click and type normally again, then back to drawing without closing anything.
What you get straight away
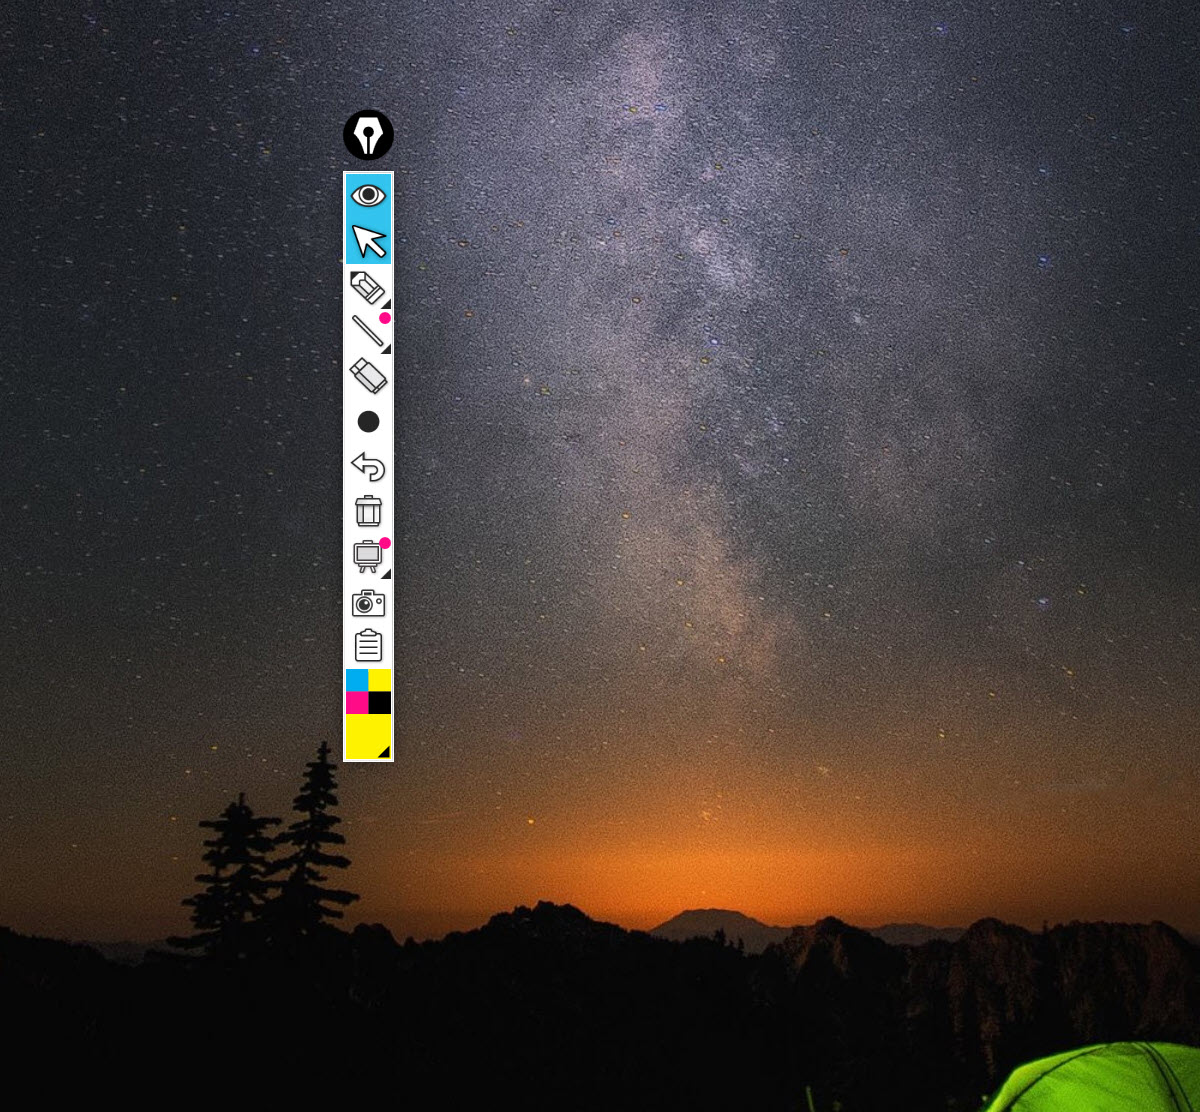
The base tool set is small and covers the common case. A pen for freehand drawing, a highlighter for emphasising without obscuring, and an eraser that removes individual strokes or clears the screen in one action. Undo steps back through what you drew.
Sixteen colours are available immediately, chosen to stand out against typical screen content rather than to fill a palette. Stroke size adjusts on the fly, so underlining a sentence and circling a whole region do not require a trip into settings.
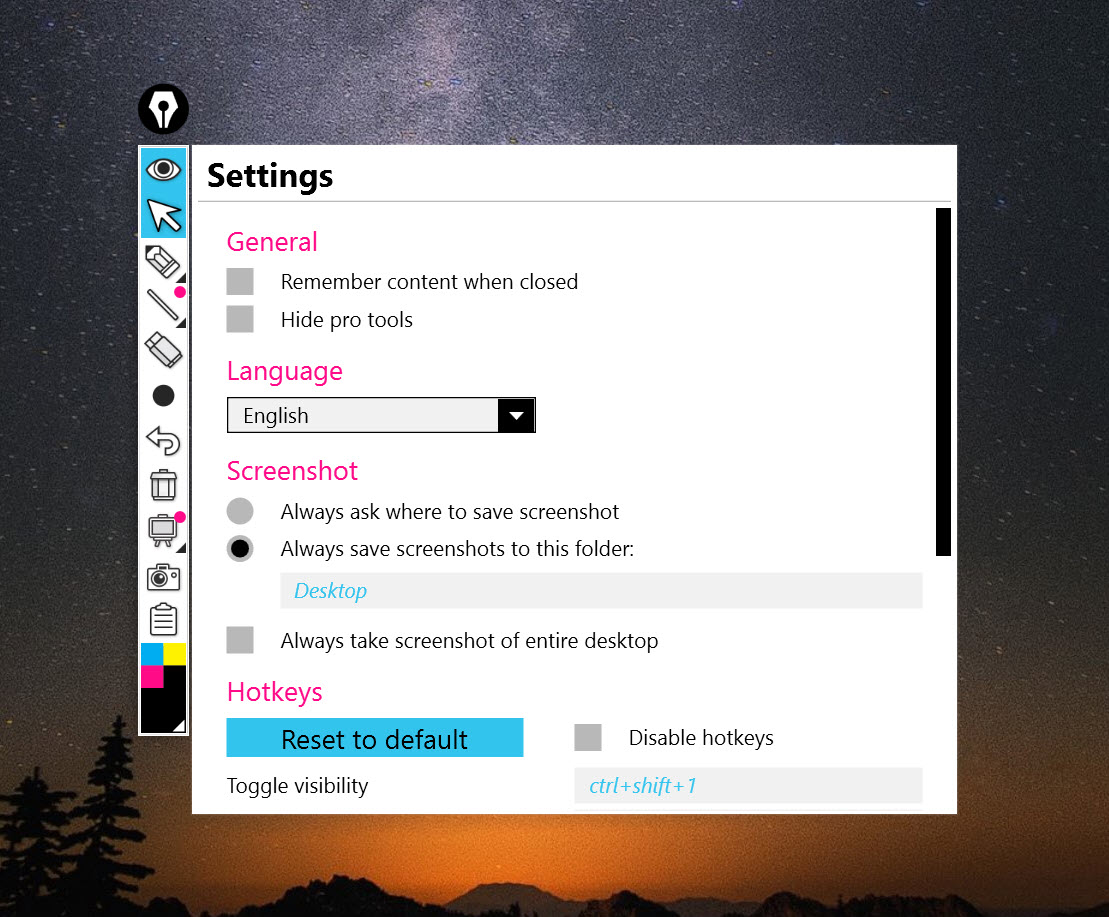
A screenshot function captures the annotated screen and either saves it to a folder you choose or copies it to the clipboard, which is how a marked-up explanation becomes something you can send to somebody who was not watching.
Shortcuts, and why they matter more here
Every tool has a keyboard shortcut, and all of them can be remapped. Visibility, cursor, pen, highlighter, eraser, undo, clear, snapshot, stroke size up or down are all reachable without touching the toolbar.
That matters more in this program than in most, because the situation it is used in involves an audience. Hunting for a button while thirty people watch is exactly the friction the tool exists to remove, and somebody who learns four shortcuts stops thinking about Epic Pen entirely and simply draws.
The toolbar itself moves anywhere on screen and collapses to a minimal form, which is the other half of staying out of the way. On a shared screen the last thing anybody needs is a control panel sitting over the content.
Pens, tablets, touch screens
Drawing accurately with a mouse is unpleasant, and the program does not pretend otherwise. Pressure sensitivity works with pen-enabled hardware, so a stylus produces a stroke that varies with how hard you press rather than a uniform line.
Touch screens are handled properly too, including drawing with more than one finger at once. On a convertible or a touch-enabled monitor, Epic Pen turns the display into something closer to a whiteboard than a computer.
Anybody planning to use this regularly for teaching should pair it with a tablet. The difference between mouse strokes and pen strokes on a shared screen is the difference between something legible and something apologetic.
What sits behind the paid tier
Being clear about this saves disappointment, because the gated features are the ones people assume are included.
Shapes are the main one. Lines, rectangles, ellipses, arrows all belong to the paid tier, and an arrow is the single most useful annotation in most explanations. The text tool is there too, for typing rather than handwriting onto the screen.
Whiteboard and blackboard modes fill the screen with a blank background, turning the overlay into a drawing surface rather than a layer over something. Extended colours, custom shortcuts, per-tool stroke sizes, fading ink that disappears on its own and a mode that hides the toolbar entirely and works only from shortcuts round out the list.
If shapes and text are what you actually need, and the annotation is going into a recorded tutorial rather than a live explanation, ActivePresenter includes both in its recording and editing workflow.
The screenshot, and what it will not do
The capture function has two limits to check before relying on it. It takes the whole screen rather than a selected region, and it produces one image format.
For a marked-up screenshot of a single window or a defined area, a capture tool built around region selection does that job and includes its own annotation editor afterwards.
For anything more involved, meaning capture with scrolling, multiple output formats, automatic uploading and a proper annotation stage, ShareX covers considerably more ground, though it annotates after capture rather than live on screen.
The other absence is recording. Epic Pen draws and does not capture video, so a narrated walkthrough with annotation needs a screen recorder running alongside it. The two work together without conflict, which is how most tutorial video with hand-drawn emphasis is actually made.
Conclusion
Epic Pen does one thing and removes a real friction while doing it. Being able to circle a figure in a spreadsheet, underline a clause in a contract or draw an arrow at the button somebody cannot find, without leaving the application or preparing anything in advance, changes how you explain things on a screen.
Two things to weigh. The features most people assume are included, meaning arrows, shapes and text, are on the paid side, so try the base tools first and work out whether freehand is enough for you. And it draws rather than captures, so a screenshot tool and a recorder belong alongside it. Learn four keyboard shortcuts, attach a stylus if you teach with it, and it becomes invisible in the way good tools do.
Pros & Cons
- Draws over any application, the desktop, the taskbar and the start menu alike
- The underlying software is untouched and unaware, so nothing can break
- Cursor mode switches between drawing and normal interaction instantly
- Every tool has a remappable keyboard shortcut, which matters in front of an audience
- Toolbar moves anywhere and collapses out of the way
- Pressure sensitivity with a stylus, and multi-touch drawing on touch screens
- Screenshot saves the annotated screen to a folder or straight to the clipboard
- Low enough on resources to leave running during a presentation
- Shapes, arrows and the text tool all belong to the paid tier
- Whiteboard and blackboard backgrounds are also gated
- Screenshots capture the whole screen only, in a single image format
- No region selection, so cropping happens afterwards in something else
- No recording, so video tutorials need a separate capture tool
- No collaboration, so remote viewing depends on screen sharing
Frequently asked questions
Yes. It draws on an overlay above everything on screen, including the desktop, the taskbar and programs with no annotation features of their own. The application underneath is unaffected and never knows.
Pen, highlighter, eraser, undo, sixteen colours, adjustable stroke size and the screenshot function. Shapes, arrows, the text tool and the whiteboard backgrounds require the paid tier.
No, the screenshot takes everything and saves it in one format. A capture tool with region selection is the answer where a specific window or area is what you want.
Yes, including pressure sensitivity, so strokes vary with how hard you press. Touch screens are supported too, with multi-touch drawing, and using a stylus rather than a mouse transforms how legible the result is.
No. It draws only, so a tutorial video needs a screen recorder running at the same time. The two coexist happily, which is the usual arrangement for tutorials with hand-drawn emphasis.


