
SculptGL
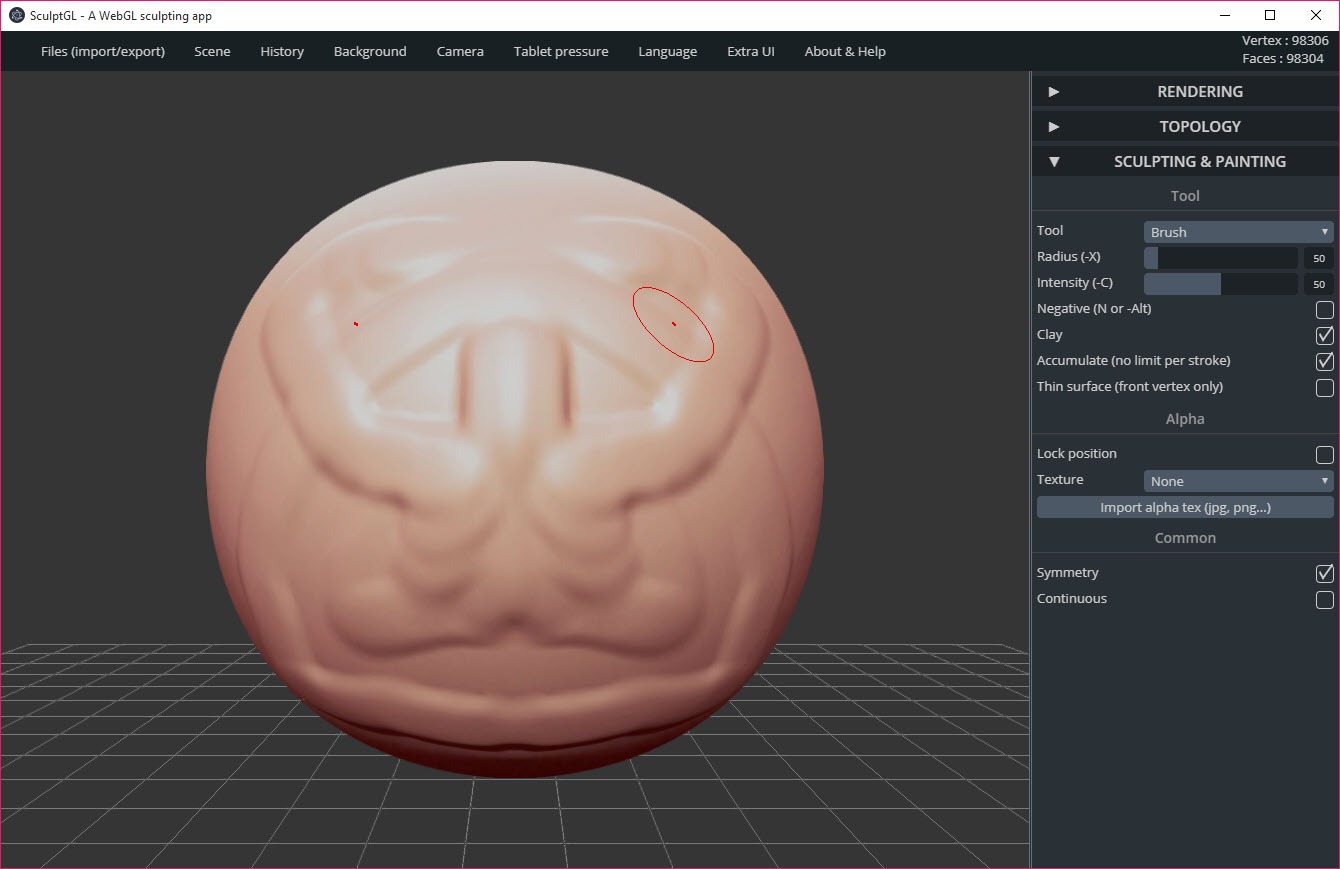
About SculptGL
Traditional 3D modelling asks you to think about vertices, edges, faces, which is a strange way to design a face or a creature. Sculpting asks you to push, pull, smooth a surface as though it were clay, and SculptGL is the smallest application that does that properly.
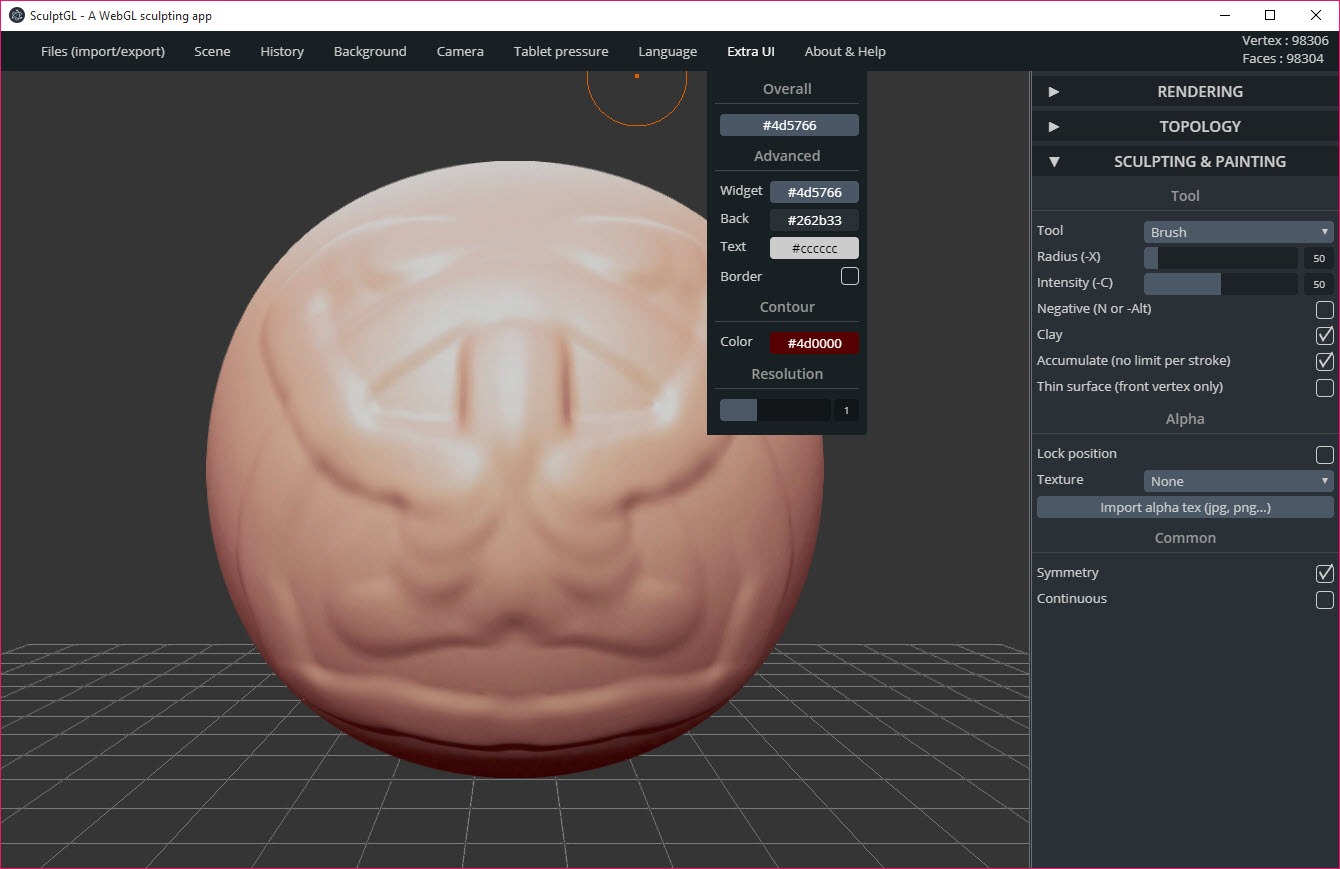
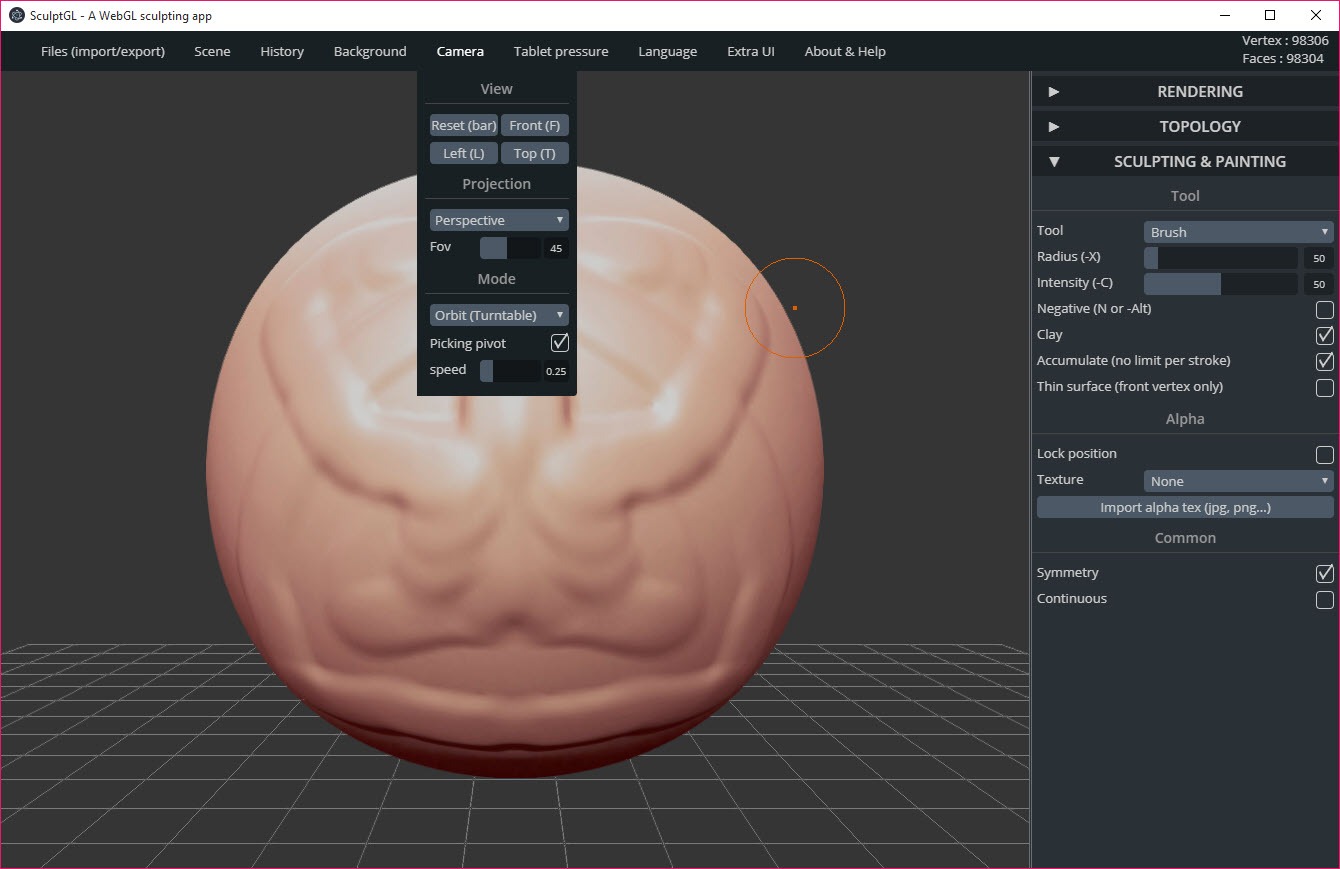
Around eleven tools cover the work. Brush, inflate, twist, smooth, flatten, pinch, crease, drag, move, paint, masking, each of which can carry an alpha texture so a stroke stamps a pattern rather than a plain bulge. Symmetry is on by default, which is what you want for anything with a face.
What makes it more than a toy is that it implements all three approaches to adding detail that professional sculpting software uses, and it is unusually honest in its own documentation about what each one breaks.
Sculpting instead of modelling
The distinction matters for anybody arriving from box modelling. You are not selecting geometry and moving it. You are running a brush across a surface and the geometry underneath reorganises itself to follow.
That changes what you can make quickly. Organic shapes, faces, creatures, anything with soft transitions come naturally. Precise mechanical parts with exact dimensions do not, and no amount of persistence will change that, because the interaction model is wrong for the job.
Sculptris is the closest comparison and covers similar territory as a desktop application. The two are near enough in scope that trying both on the same afternoon is the sensible way to choose.
Dynamic topology, and what it deletes
The first way to get detail is to let the mesh subdivide itself under the brush. Sculpt into an area and new triangles appear there in real time. Sculpt broad shapes elsewhere and decimation removes triangles that are no longer needed.
That produces detail exactly where you worked and nowhere else, which is efficient and feels natural. Two constraints come with it. The result is triangles only, with no quads anywhere, and the operation deletes any texture coordinates the mesh carried.
SculptGL states that second point plainly rather than hiding it, and it is the thing to understand before starting. If your model has UVs and you want to keep them, this is not the tool for that model.
Multiresolution, the path that keeps coordinates
The second approach subdivides the whole mesh into levels you move between. Sculpt the broad forms at a low level, subdivide, add medium detail, subdivide again for fine work, and move back down when a proportion needs changing.
Two standard subdivision algorithms are implemented, producing a mixture of quads and triangles, and there is a reversion function computing the opposite of a subdivision where the geometry allows it. Moving between levels retains the sculpting you did at each one rather than discarding it.
Crucially, this path preserves texture coordinates in both directions. So the rule for anyone working with UVs is straightforward. Use multiresolution and avoid the other two, because both alternatives will throw those coordinates away.
Voxel remeshing, and unusual candour
The third SculptGL approach rebuilds the mesh entirely, converting it into volume data and generating a fresh surface from that. The algorithm produces quads of uniform size across the whole model, which is exactly what you want after a sculpt has left density piled up in some places and stretched thin in others.
It also handles a mesh that is not closed by filling holes first, and the documentation describes that hole filling as naive, which is a refreshing description to find in a feature list.
The warning attached to it deserves quoting in substance. Remeshing this way can produce non-manifold vertices, meaning geometry that could not exist as a physical surface. For rendering that may pass unnoticed. For anything heading to a printer it will not, and a tool built for repairing and preparing meshes is the sensible checkpoint between the two.
Painting the surface
SculptGL applies colour directly to the model rather than through a texture map, with roughness and metalness painted alongside, so a surface can be made to look like wet clay in one area and brushed metal in another.
Rendering options are broader than the application’s size suggests. Matcap materials cover clay, skin, pearl, several others, and there is proper physically based shading with environments, exposure control and filmic tonemapping.
Normal, curvature, coordinate shaders exist for inspecting the geometry rather than admiring it, alongside transparency, flat shading and a wireframe view. Vertex and face counts update live in the corner.
The limitation of painting onto vertices is worth understanding. Colour detail is limited by how dense the mesh is, so a fine pattern needs geometry fine enough to carry it, which is a different constraint from painting onto a texture.
Getting work in and out
Import and export cover the common exchange formats alongside the application’s own, and vertex colour is read on import rather than discarded, which matters when bringing something back after work elsewhere.
For printing, exporting to the standard mesh format and taking it into Cura or another slicer is the normal route, and this is where the manifold warning above becomes practical rather than theoretical.
A basic posing tool exists for adjusting parts of a finished model into a different arrangement. It is basic in the accurate sense of the word rather than the polite one, and anything resembling a proper pose belongs in software with a skeleton.
What it does not attempt
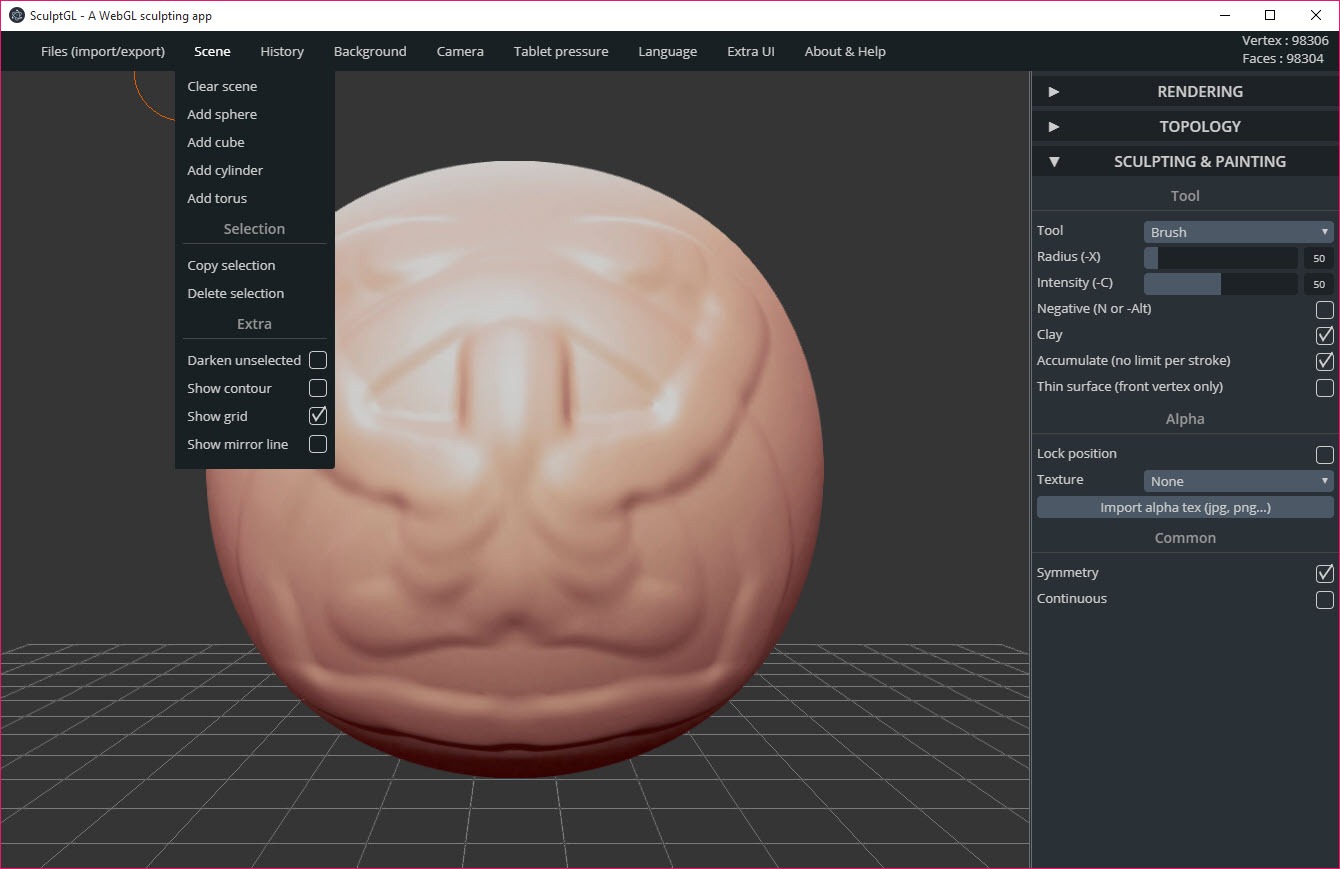
The honest list is short and clear. There is no retopology, no automatic unwrapping of texture coordinates, no rigging, no animation, and no boolean or trimming tools for hard-surface work. One model at a time, with no scene, no lighting setup and no rendering pipeline.
SculptGL is therefore a stage rather than a workflow. Sculpt the form here, export it, and do everything downstream in Blender, which handles retopology, unwrapping, rigging, rendering and has a sculpting mode of its own if you decide to stay there.
Starting from a figure rather than a sphere saves considerable time, and a generator for human base meshes produces something to import and sculpt onto instead of pulling a head out of a ball.
Performance depends on the machine, and heavy detail work eventually meets a ceiling that dedicated desktop sculpting software does not have. For concept work, practice, quick forms that ceiling sits far enough away not to matter.
Conclusion
SculptGL is the best answer to somebody asking how to try sculpting without committing to anything. All three detail techniques the commercial applications use are present and behave properly, the tool set covers what a beginner needs, and the documentation is unusually straight about which operations destroy what.
Approach it as the first stage of a process. Sculpt the form, understand that two of the three detail paths discard texture coordinates, check the geometry before printing, and export to a full application for the rest. Used that way it is a properly capable sculpting tool.
Used as a complete pipeline it will stop being enough within a week of your taking it seriously.
Pros & Cons
- Eleven sculpting tools with alpha texture support on each, and symmetry on by default
- All three detail approaches present, so the right one can be chosen per model
- Multiresolution preserves texture coordinates in both directions between levels
- Dynamic topology adds triangles only where the brush works and removes them elsewhere
- Voxel remeshing produces uniform quads across a model whose density has drifted
- Colour, roughness, metalness painted straight onto the model
- Matcap and physically based shading with curvature and normal inspection views
- Reads vertex colour on import rather than discarding it
- Dynamic topology and voxel remeshing both delete texture coordinates
- Voxel remeshing can produce non-manifold geometry, which matters before printing
- Vertex painting ties colour detail to mesh density
- No retopology, unwrapping, rigging, animation or hard-surface trimming
- One model at a time, with no scene or rendering pipeline
- Detail ceiling arrives sooner than in dedicated desktop sculpting software
Frequently asked questions
Dynamic topology adds and removes triangles locally as you sculpt, giving detail only where you worked. Multiresolution subdivides the whole model into levels you move between. The first is more efficient, the second preserves texture coordinates.
Only through multiresolution, which preserves them when subdividing and when reverting. Both dynamic topology and voxel remeshing delete them, so any model carrying UVs should be sculpted using the multiresolution path alone.
Yes, to the standard mesh format that slicers expect. Check the geometry first though, because the remeshing can produce non-manifold vertices that a printer will refuse, and a repair tool between the two saves a wasted print.
It paints colour, roughness and metalness directly onto the vertices, so no texture map is involved. The consequence is that colour detail is limited by how dense the mesh is at that point.
Neither. It sculpts and paints, and everything after that belongs in a full 3D application. Treating it as one stage of a longer process rather than a complete tool is the way to get value from it.


