
Pencil2D Animation
About Pencil2D Animation
Pencil2D Animation is a drawing program with a timeline under it, built for animating the old way, one frame at a time by hand. Draw a pose, step forward, draw the next, and the ghosted image of the previous frame shows through so you know where the line was. There is no rigging, no automatic in-betweening and no library of ready-made characters. Every frame is a drawing you made, and the program’s whole job is to make that as quick and uncluttered as it can.
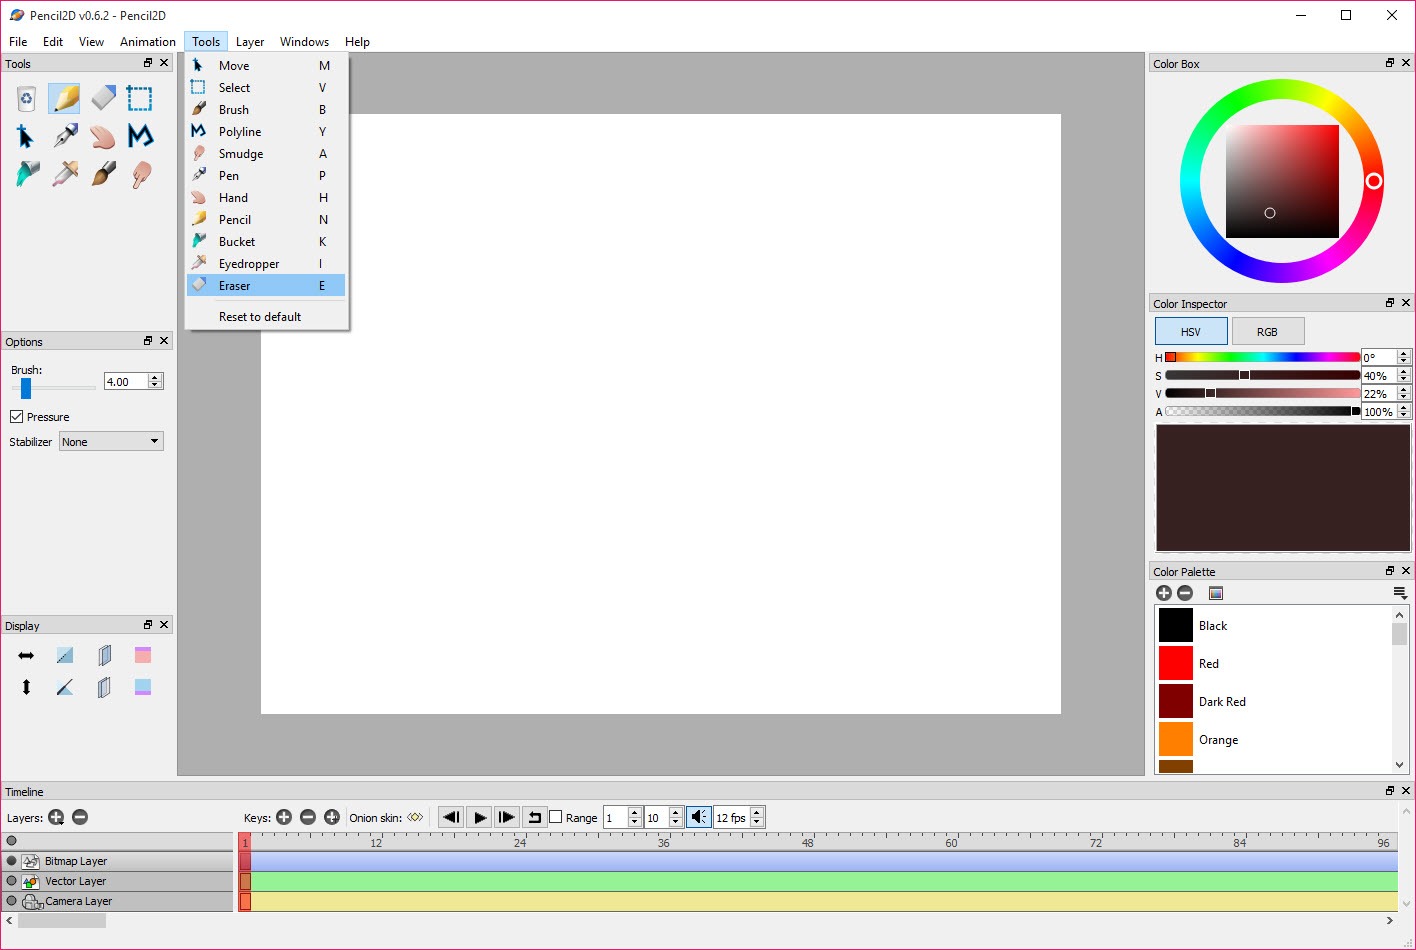
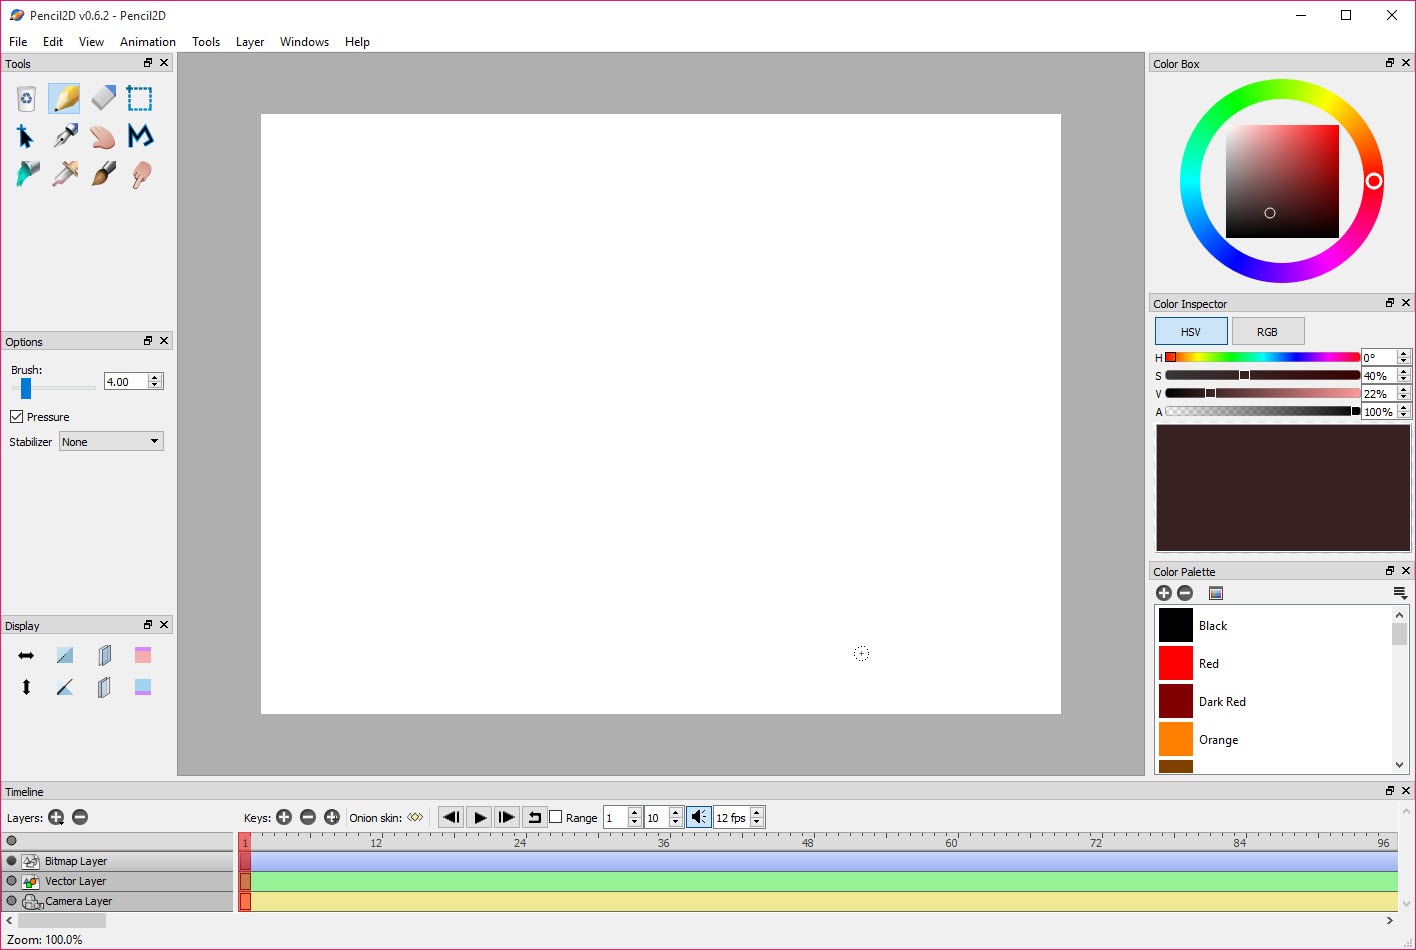
That restraint is a design choice, and it shows in the window. A canvas, a toolbar of around ten tools, a colour palette and a timeline along the bottom, with nothing else demanding attention. Bitmap and vector layers live in the same project, so a rough sketch in pixels can be traced with clean scalable lines in a vector layer above it, and a camera layer pans and zooms over the finished drawing.
Pencil2D Animation is the tool teachers reach for when introducing timing and spacing, and the tool a hobbyist keeps for a walk cycle or a short gag, because there is so little between the idea and the frame.
Four kinds of layer
The Pencil2D Animation timeline holds four layer types. Bitmap layers are where most drawing happens, pixel-based, with the brush and pencil, the eraser, the bucket and the smudge tool behaving like a sketchbook. Vector layers store strokes as curves, so a line drawn there can be reshaped by its points, filled cleanly and scaled without blurring, which is the layer for final inking, though anyone used to a full vector illustrator will find the curve tools basic.
Camera layers define what the viewer sees, and keyframing a camera’s position and zoom produces a pan or a push-in over static drawings without redrawing anything. Sound layers hold audio clips, so a voice track or music sits under the frames for timing dialogue and beats.
Layers stack, and each has its own visibility and opacity, plus a lock, so a rough pass can fade to a faint guide while the clean version is drawn over it. Import works on bitmap layers only, which trips up newcomers who select a vector layer and find the menu greyed out.
Exposure timing and onion skins
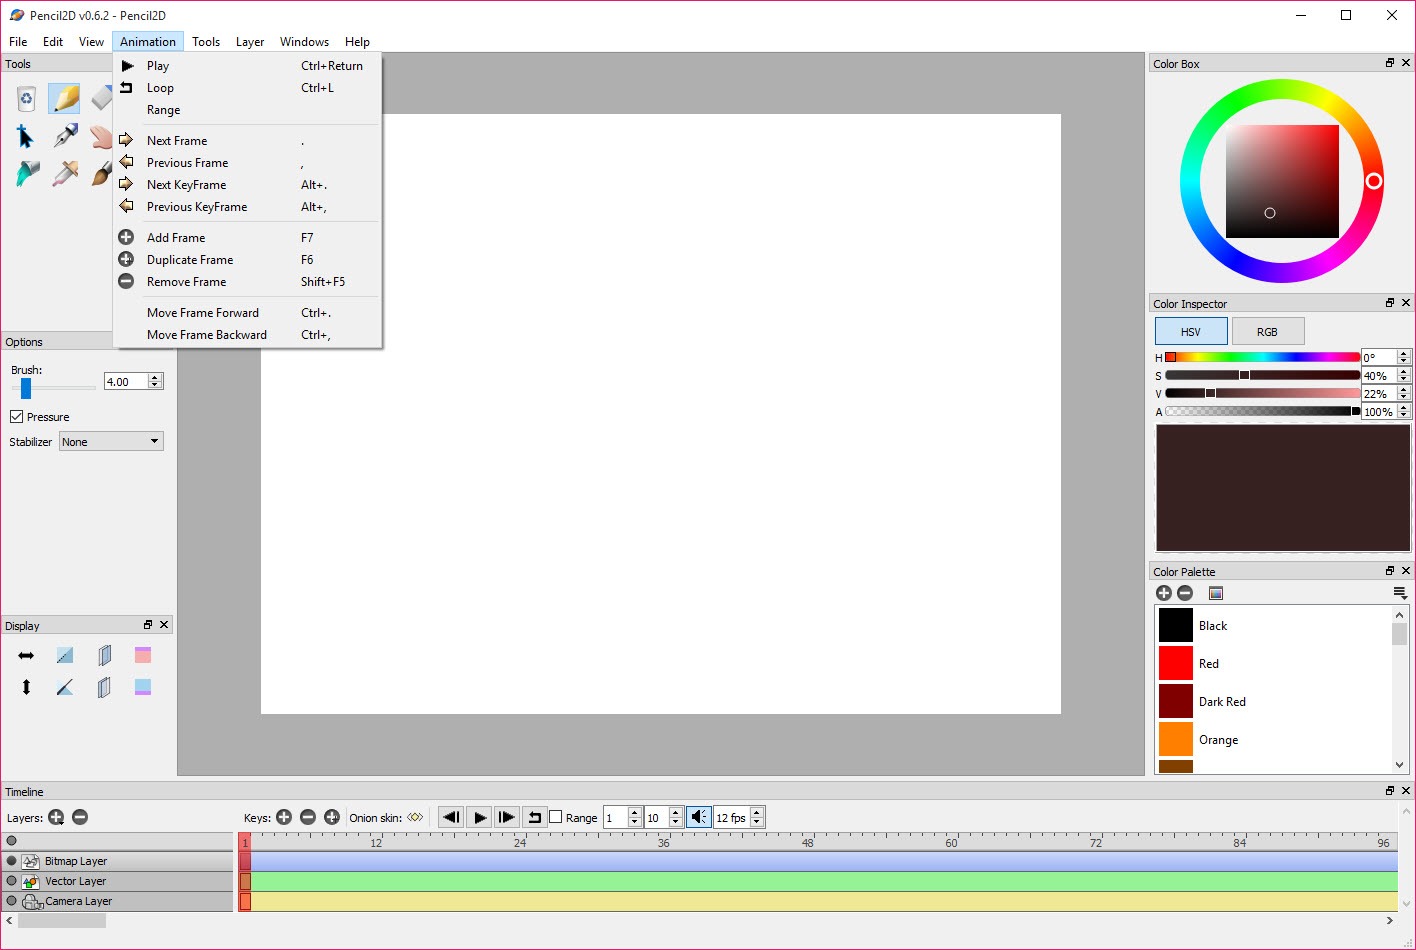
Each drawing sits on a keyframe, and a keyframe holds for as many frames as you give it, so timing is set by how long a drawing stays on screen rather than by duplicating it. Stretching a drawing to two frames instead of one is how animators shoot on twos, and the timeline makes that a drag. Frames can be moved or copied along the strip and deleted from it, and playback scrubs or loops a range at the project frame rate.
Onion skinning shows the previous and next drawings as translucent overlays, with the number of frames shown in each direction and their opacity adjustable, and a colour tint separating past from future.
It is the single most important feature in any hand-drawn animation tool and here it is well implemented and always a click away.
Drawing tools and tablet support
The Pencil2D Animation tool set is deliberately short. Pencil and pen for lines, a brush with size and feathering, an eraser, a bucket fill with tolerance, a polyline for straight segments, a select and move tool, a hand for panning and a smudge tool that liquifies pixels on bitmap layers or nudges points on vector ones. Pressure from a graphics tablet controls width and on some tools opacity. Stabilisation smooths a shaky hand.
Anyone arriving from a painting program will miss brush variety and texture, and blending modes, and the text tool is basic enough that titles are usually drawn by hand or made elsewhere. For fully painted frames, drawing in a painting application with an animation timeline gives richer brushes in exchange for a heavier interface.
Exporting the finished animation
Pencil2D Animation exports an MP4, an AVI, a WebM, an animated GIF or an APNG, or a numbered sequence of PNG or JPEG frames for assembling elsewhere. The camera layer’s view defines the exported frame, resolution is set on export, and a range of frames can be exported rather than the whole timeline.
Image sequences are the safe route for anyone finishing in a video editor, since they keep every frame lossless.
What it will not import
There is no video import to trace over, so rotoscoping means extracting frames as images first, and there is no PDF or storyboard export. The project format is the program’s own, so work stays here until it is rendered out, and sprite sheets for games are a job for a pixel art editor instead.
Conclusion
Pencil2D Animation suits people learning how animation actually works, drawing frame by frame and watching timing come alive, and hobbyists who want a walk cycle or a short gag without a suite’s overhead. The onion skinning, the exposure control and the four layer types are exactly the tools that job needs, and nothing here gets in the way of the drawing.
It is not for productions that depend on rigs, tweens or a wide brush library, and its text and import gaps will send some people elsewhere. Treat it as a sketchbook with a timeline, export image sequences when the work is going somewhere else, and it will teach the fundamentals better than most tools twenty times its size.
Pros & Cons
- Bitmap and vector layers in one project for sketching and inking
- Onion skinning with adjustable range and opacity, tinted by direction
- Exposure-based timing by holding a drawing across frames
- Camera layer for pans and zooms without redrawing
- Exports MP4, WebM, GIF, APNG and lossless image sequences
- Uncluttered interface that a beginner learns in an afternoon
- No tweening, rigging or bones, so every frame is drawn by hand
- Small brush set with no textures or blending modes
- Text tool is too basic for titles
- No video import for tracing
- Development is volunteer-driven and slow, with lingering rough edges
Frequently asked questions
No. Every frame is drawn by hand. Onion skinning helps you place each drawing, but nothing is generated between them.
Yes. Pressure controls line width and on some tools opacity, and a stabiliser smooths wobbly strokes.
Import works only on bitmap layers. Select a bitmap layer, or add one, and the import menu becomes available.
MP4, AVI, WebM, animated GIF and APNG, plus PNG or JPEG image sequences for finishing in a video editor.


