

3D Coat
About 3D Coat
3D Coat sculpts in voxels, and that single technical choice shapes everything else about it. A voxel model is a block of digital clay with real volume, not a hollow shell of polygons. You can punch a hole straight through it, merge two shapes by pushing one into the other, or carve a cave into a rock without the mesh tearing or stretching. Topology simply is not a concern while you are working, because there is none to worry about yet.
Once the form is finished, the application walks you through the rest of the asset pipeline in the same program. Retopology turns the sculpt into a clean, animation-friendly mesh. UV mapping unwraps it. Texture painting adds colour and surface properties with physically based materials.
Each stage lives in its own room, a workspace with its own tools, reached through tabs along the top of the window. Other programs do each stage well, often better, but few take a model from a lump of clay to a textured game asset without exporting in between.
Voxel mode and surface mode
Sculpting in 3D Coat splits into two modes that you switch between on the same object. Voxel mode is for blocking out form. Resolution is set in voxel counts, and the recommended starting point for learning is one or two million, raised for production detail. Booleans run live, so adding or subtracting a primitive updates instantly, and that is how hard surface pieces get built fast. Sculpts headed for a printer still benefit from a pass through a dedicated mesh repair tool afterwards.
Surface mode switches the object to a polygon surface for fine detail. Skin pores, fabric folds and sharp creases are all easier here, and it runs considerably faster than voxel mode at high resolution. Live Clay in surface mode adds geometry where the brush goes, dynamic tessellation that keeps detail dense only where you need it.
Heavy voxel counts demand plenty of memory and a proper graphics card. Past ten million voxels, lag and crashing are the usual complaints, and the standard fix is dropping resolution or moving to surface mode for the detail pass.
Automatic and manual retopology
Autopo, the 3D Coat automatic retopology, generates a quad-based mesh over the sculpt. Enable symmetry first for anything that should be symmetrical, draw a few guide strokes to steer the edge flow, and it produces a respectable starting mesh. For game assets that is often enough, with manual cleanup where edge flow matters, around the eyes and joints or along mechanical seams.
Manual retopology tools draw quads and strips directly onto the surface. The Retopo room also holds UV seam tools, poly groups for splitting a model into parts, and a UV preview.
Artists who dislike Autopo tend to do everything by hand here, and the tools are good enough to make that bearable, which is not always true of rivals.
UV mapping and baking
The 3D Coat UV room unwraps the retopologised mesh with seams you place or ones generated automatically, then packs the islands with controls for spacing and texel density. A check tool highlights overlapping or stretched islands, which is where distorted textures nearly always come from. Baking then transfers the sculpted detail onto the low-poly mesh as normal, displacement, ambient occlusion and curvature maps.
This is the unglamorous middle of the pipeline and 3D Coat handles it better than most sculpting programs, which often leave UVs to a separate tool.
Painting with Smart Materials
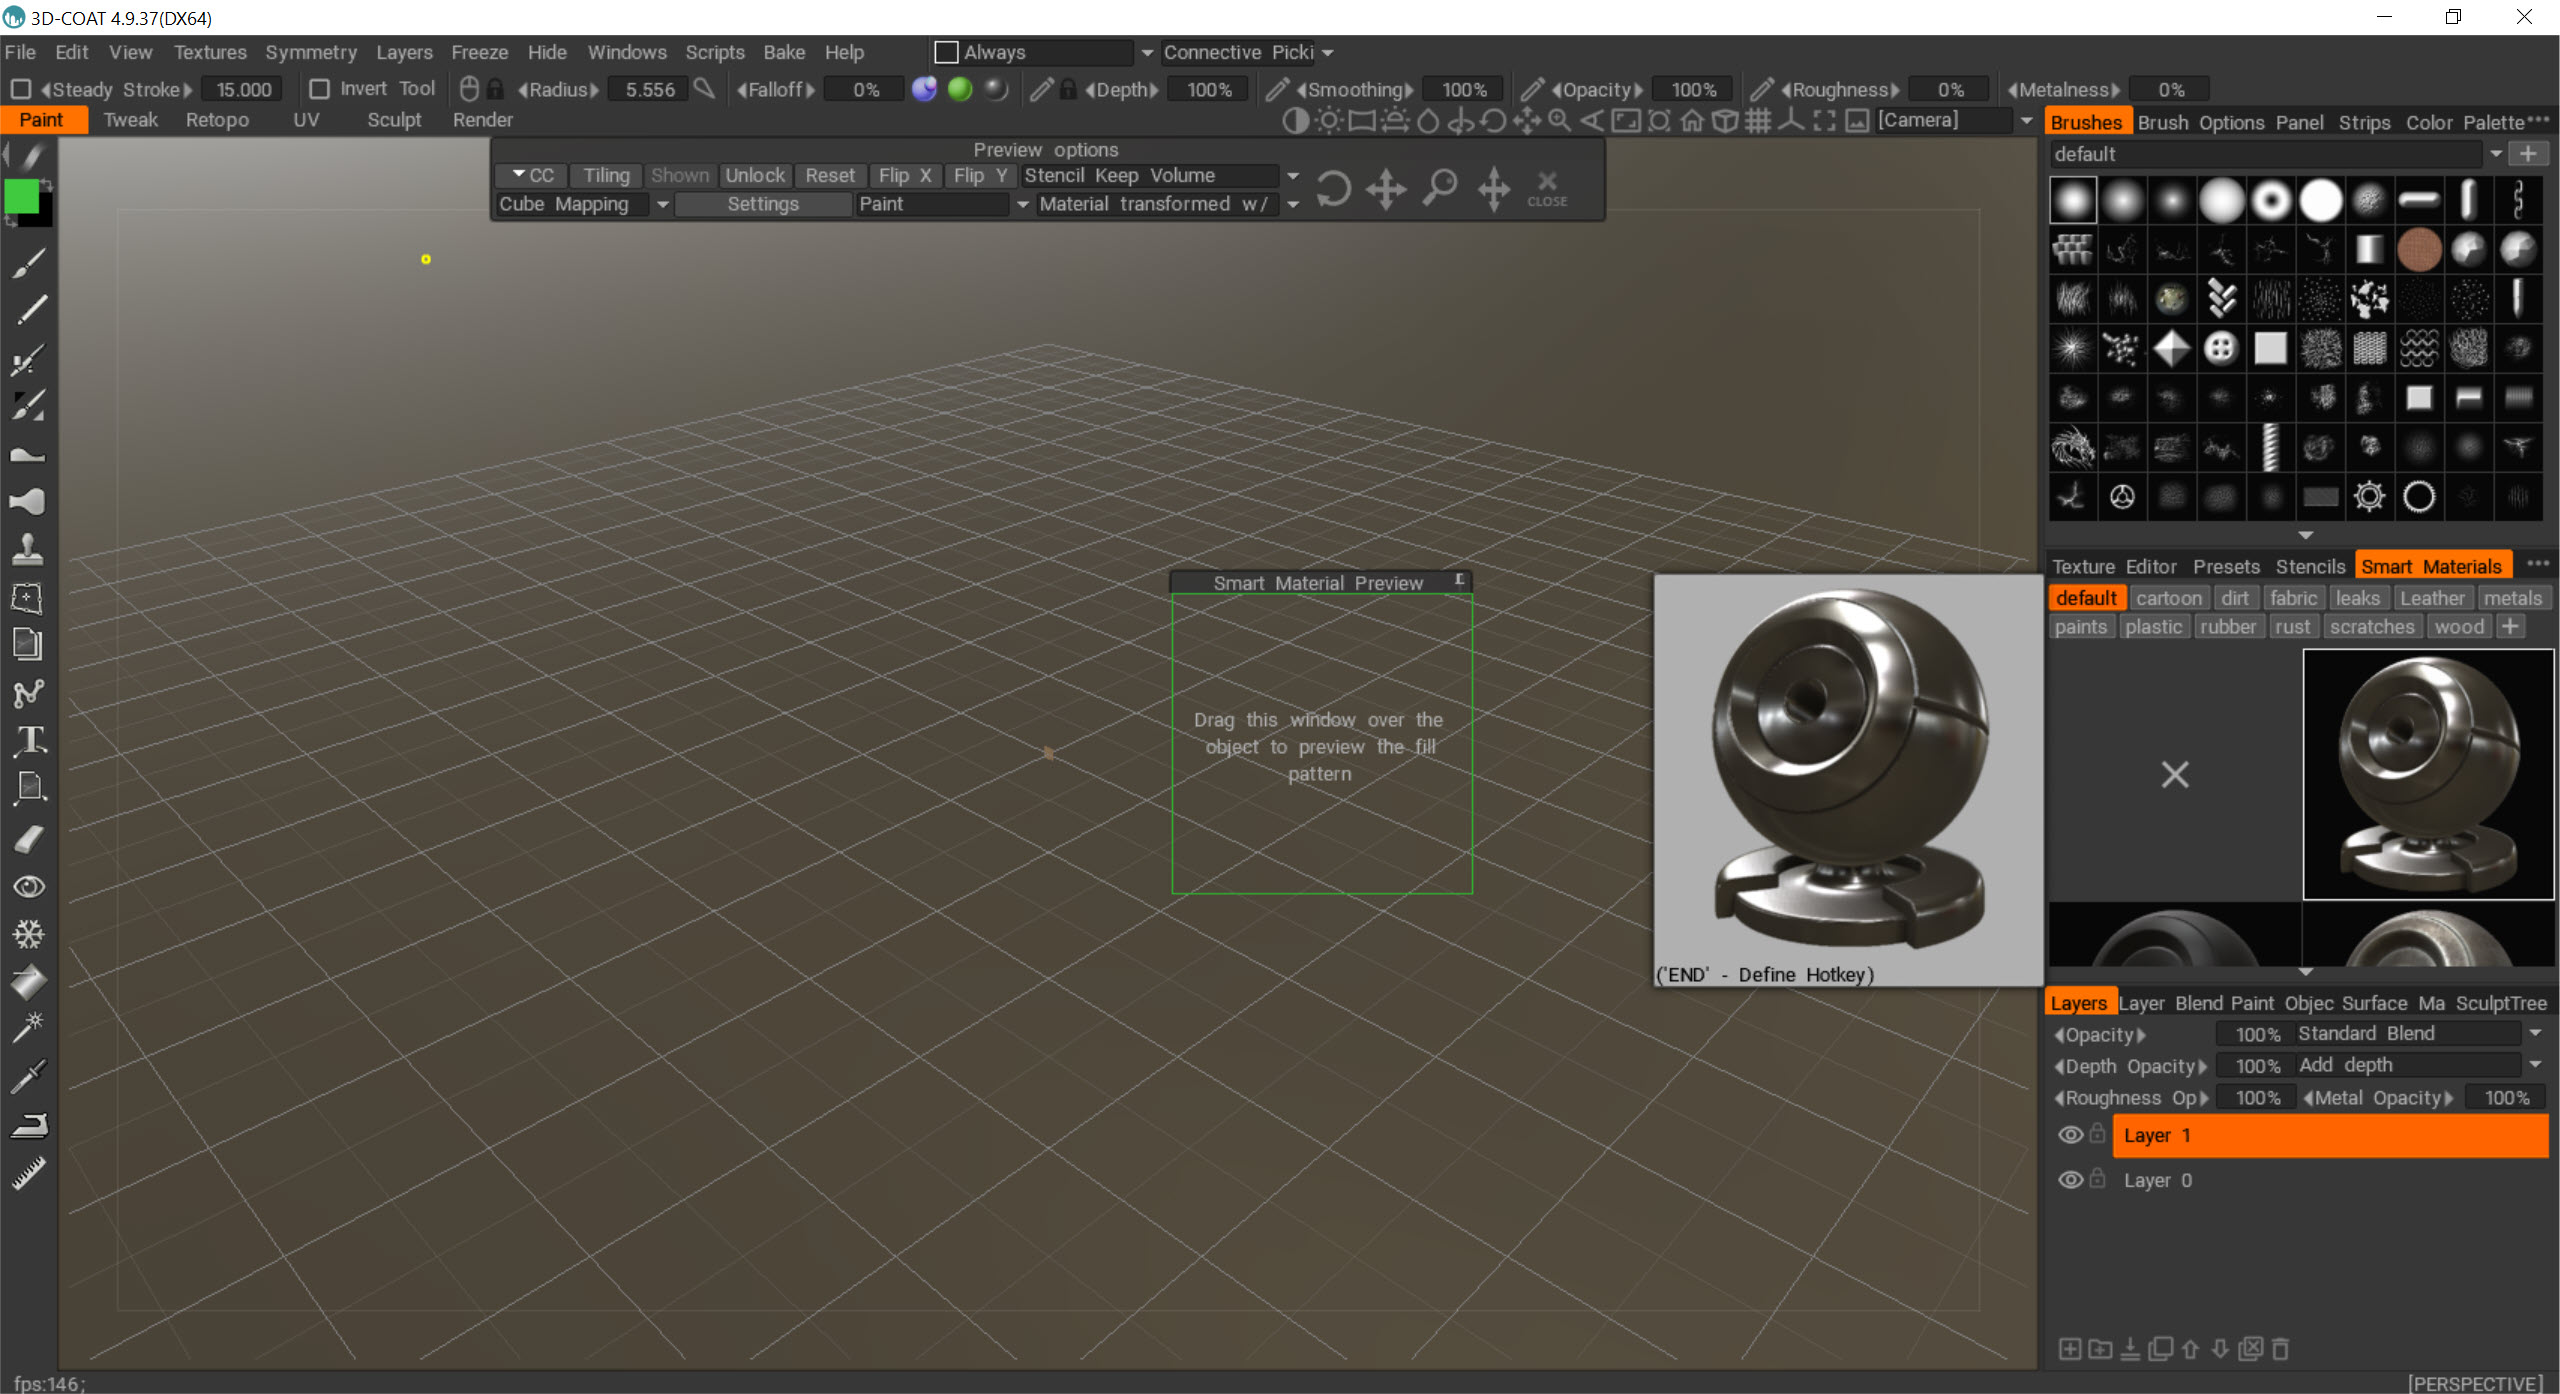
The Paint room is where many people end up spending most of their time, and it compares seriously with dedicated texturing software. Paint colour and PBR channels on multiple layers with blending modes and layer groups. Painting methods include per-pixel, micro-vertex and Ptex, and textures go up to 16K.
Smart Materials apply a whole material, with edge wear, dirt in the crevices and scratches on the high points, in one stroke that responds to the curvature and occlusion maps. Newer builds add a node system for procedural materials and masks, calculated on the GPU. The viewport renders physically based materials in real time with HDRI lighting, so what you paint is what the game engine will show.
Photoshop interaction lets you send a view out, paint on it and bring it back projected onto the model. That round trip saves hours on complex texture work.
Getting assets out, and the AppLink bridge
AppLink connects 3D Coat to other 3D programs, sending meshes and textures back and forth without manual exporting. The Blender link is the one most people set up, though it needs both the add-on and the folder paths configured correctly or nothing transfers.
Standard formats cover the rest, and 3D print preparation is supported for sculpts that will leave the screen.
The learning curve and the interface
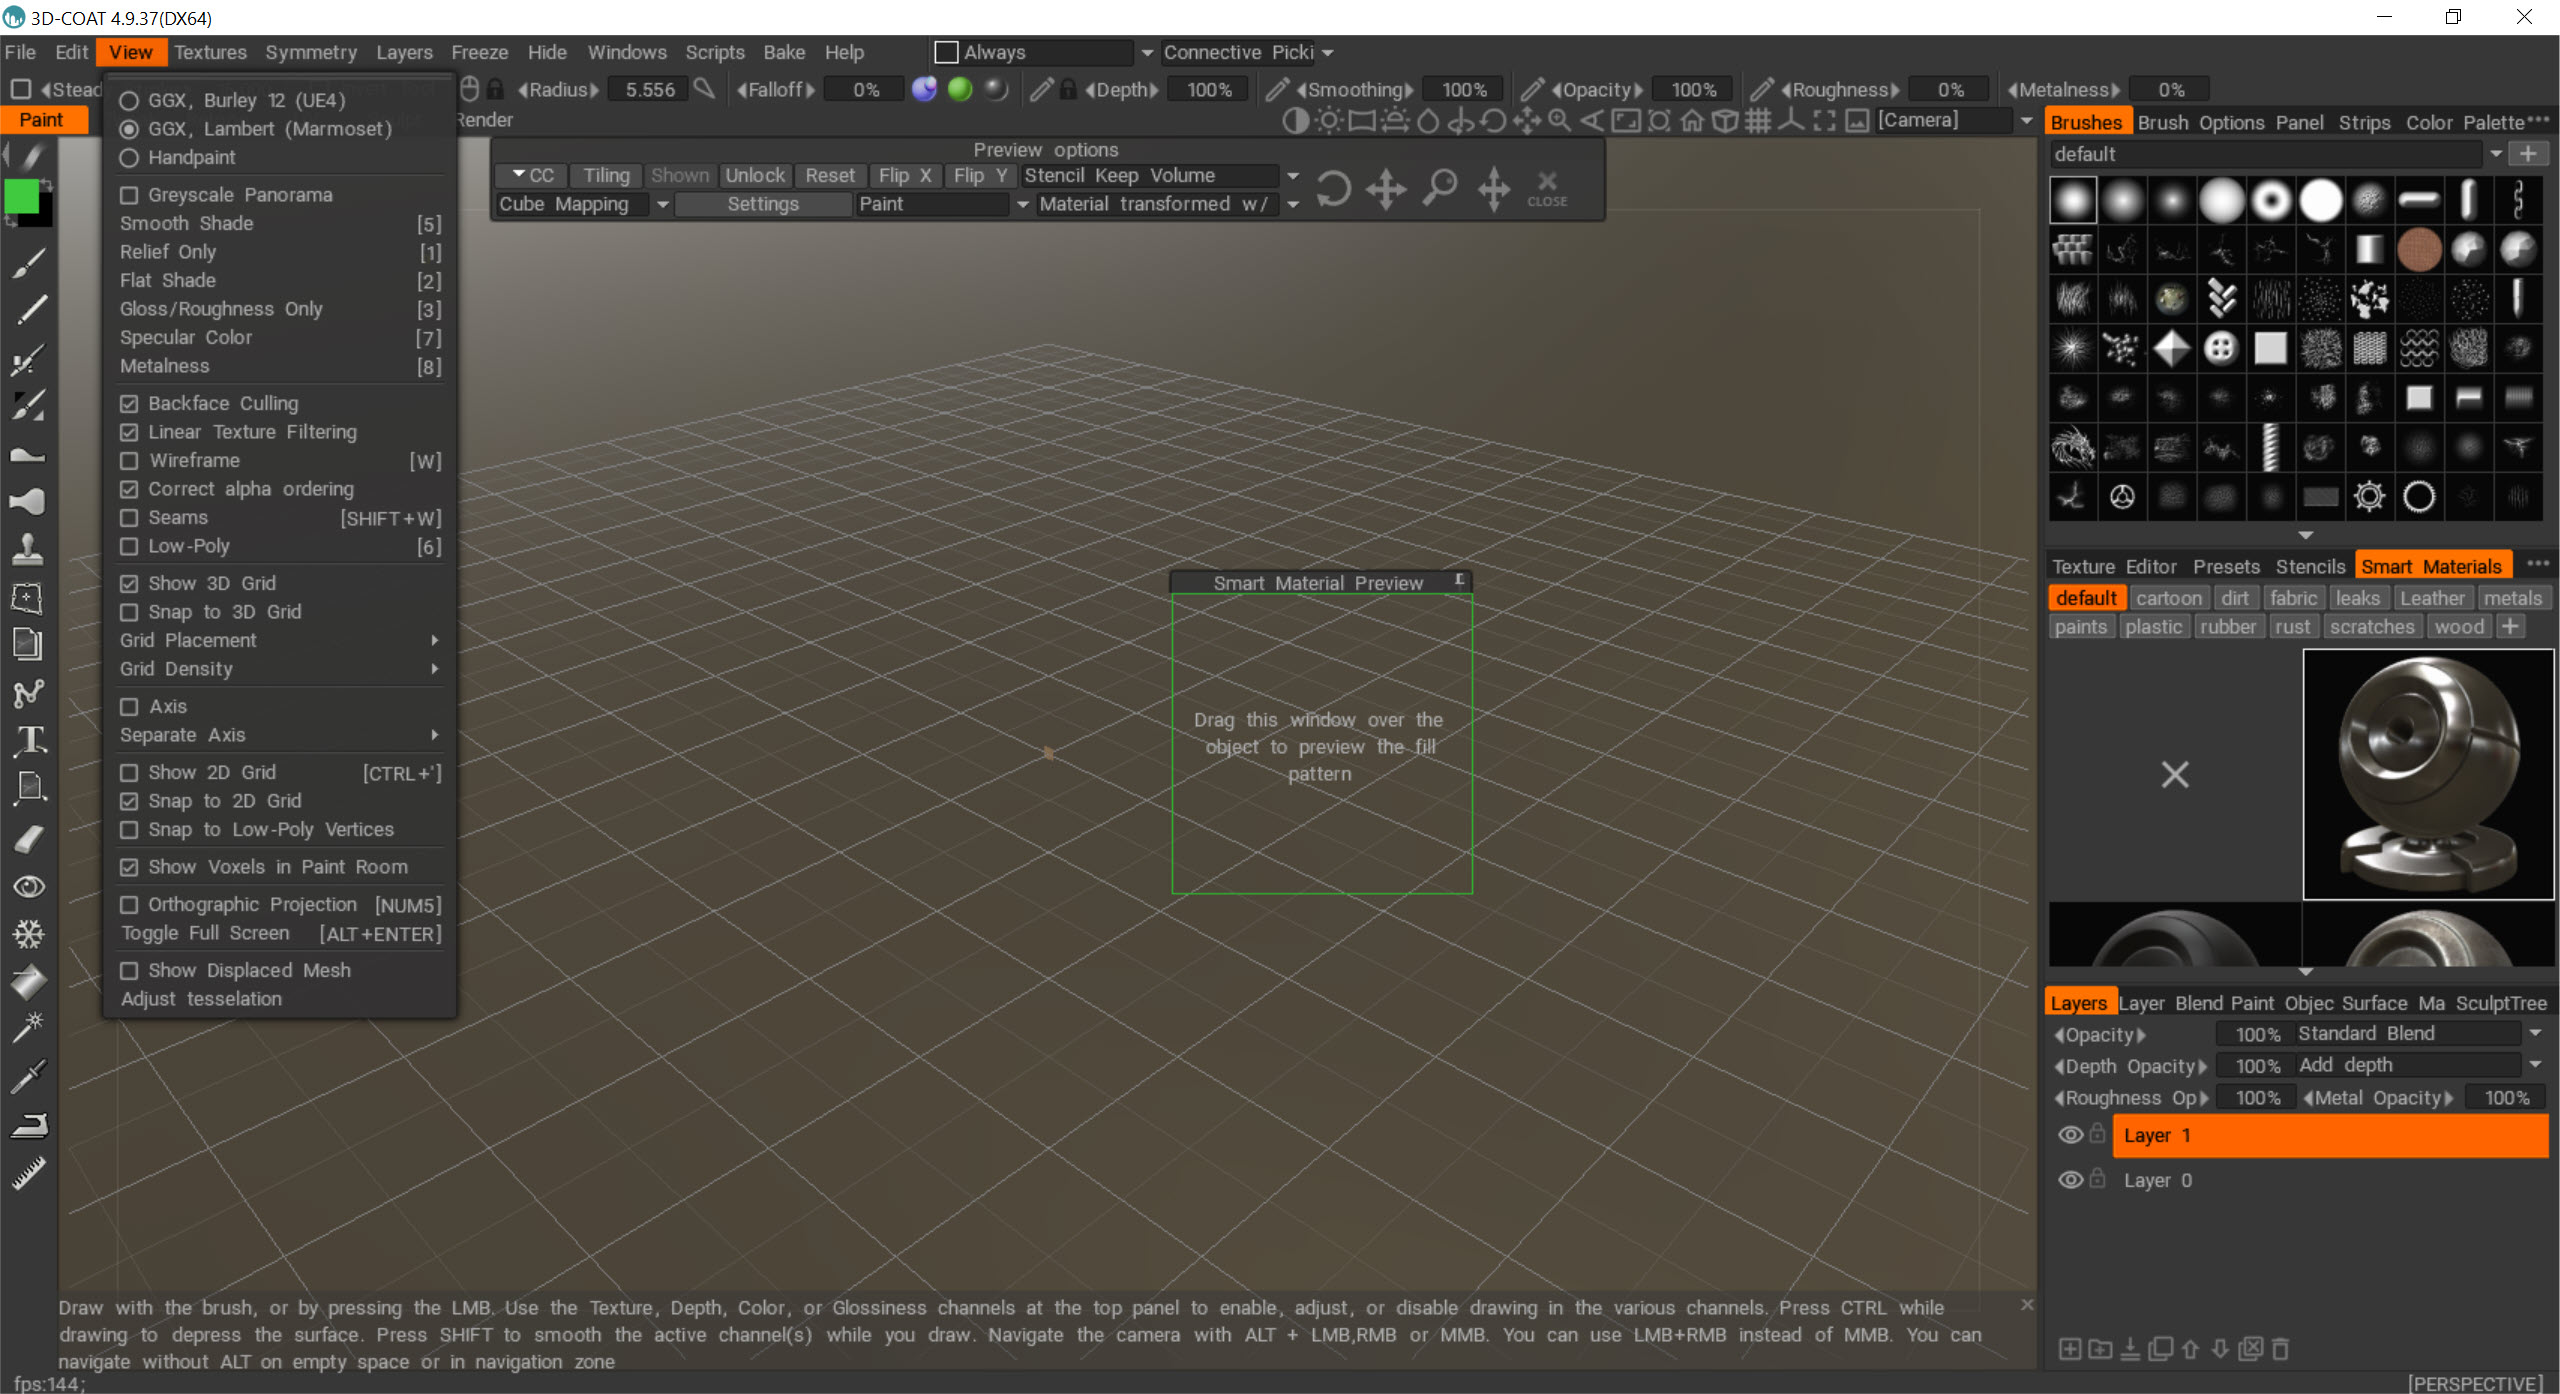
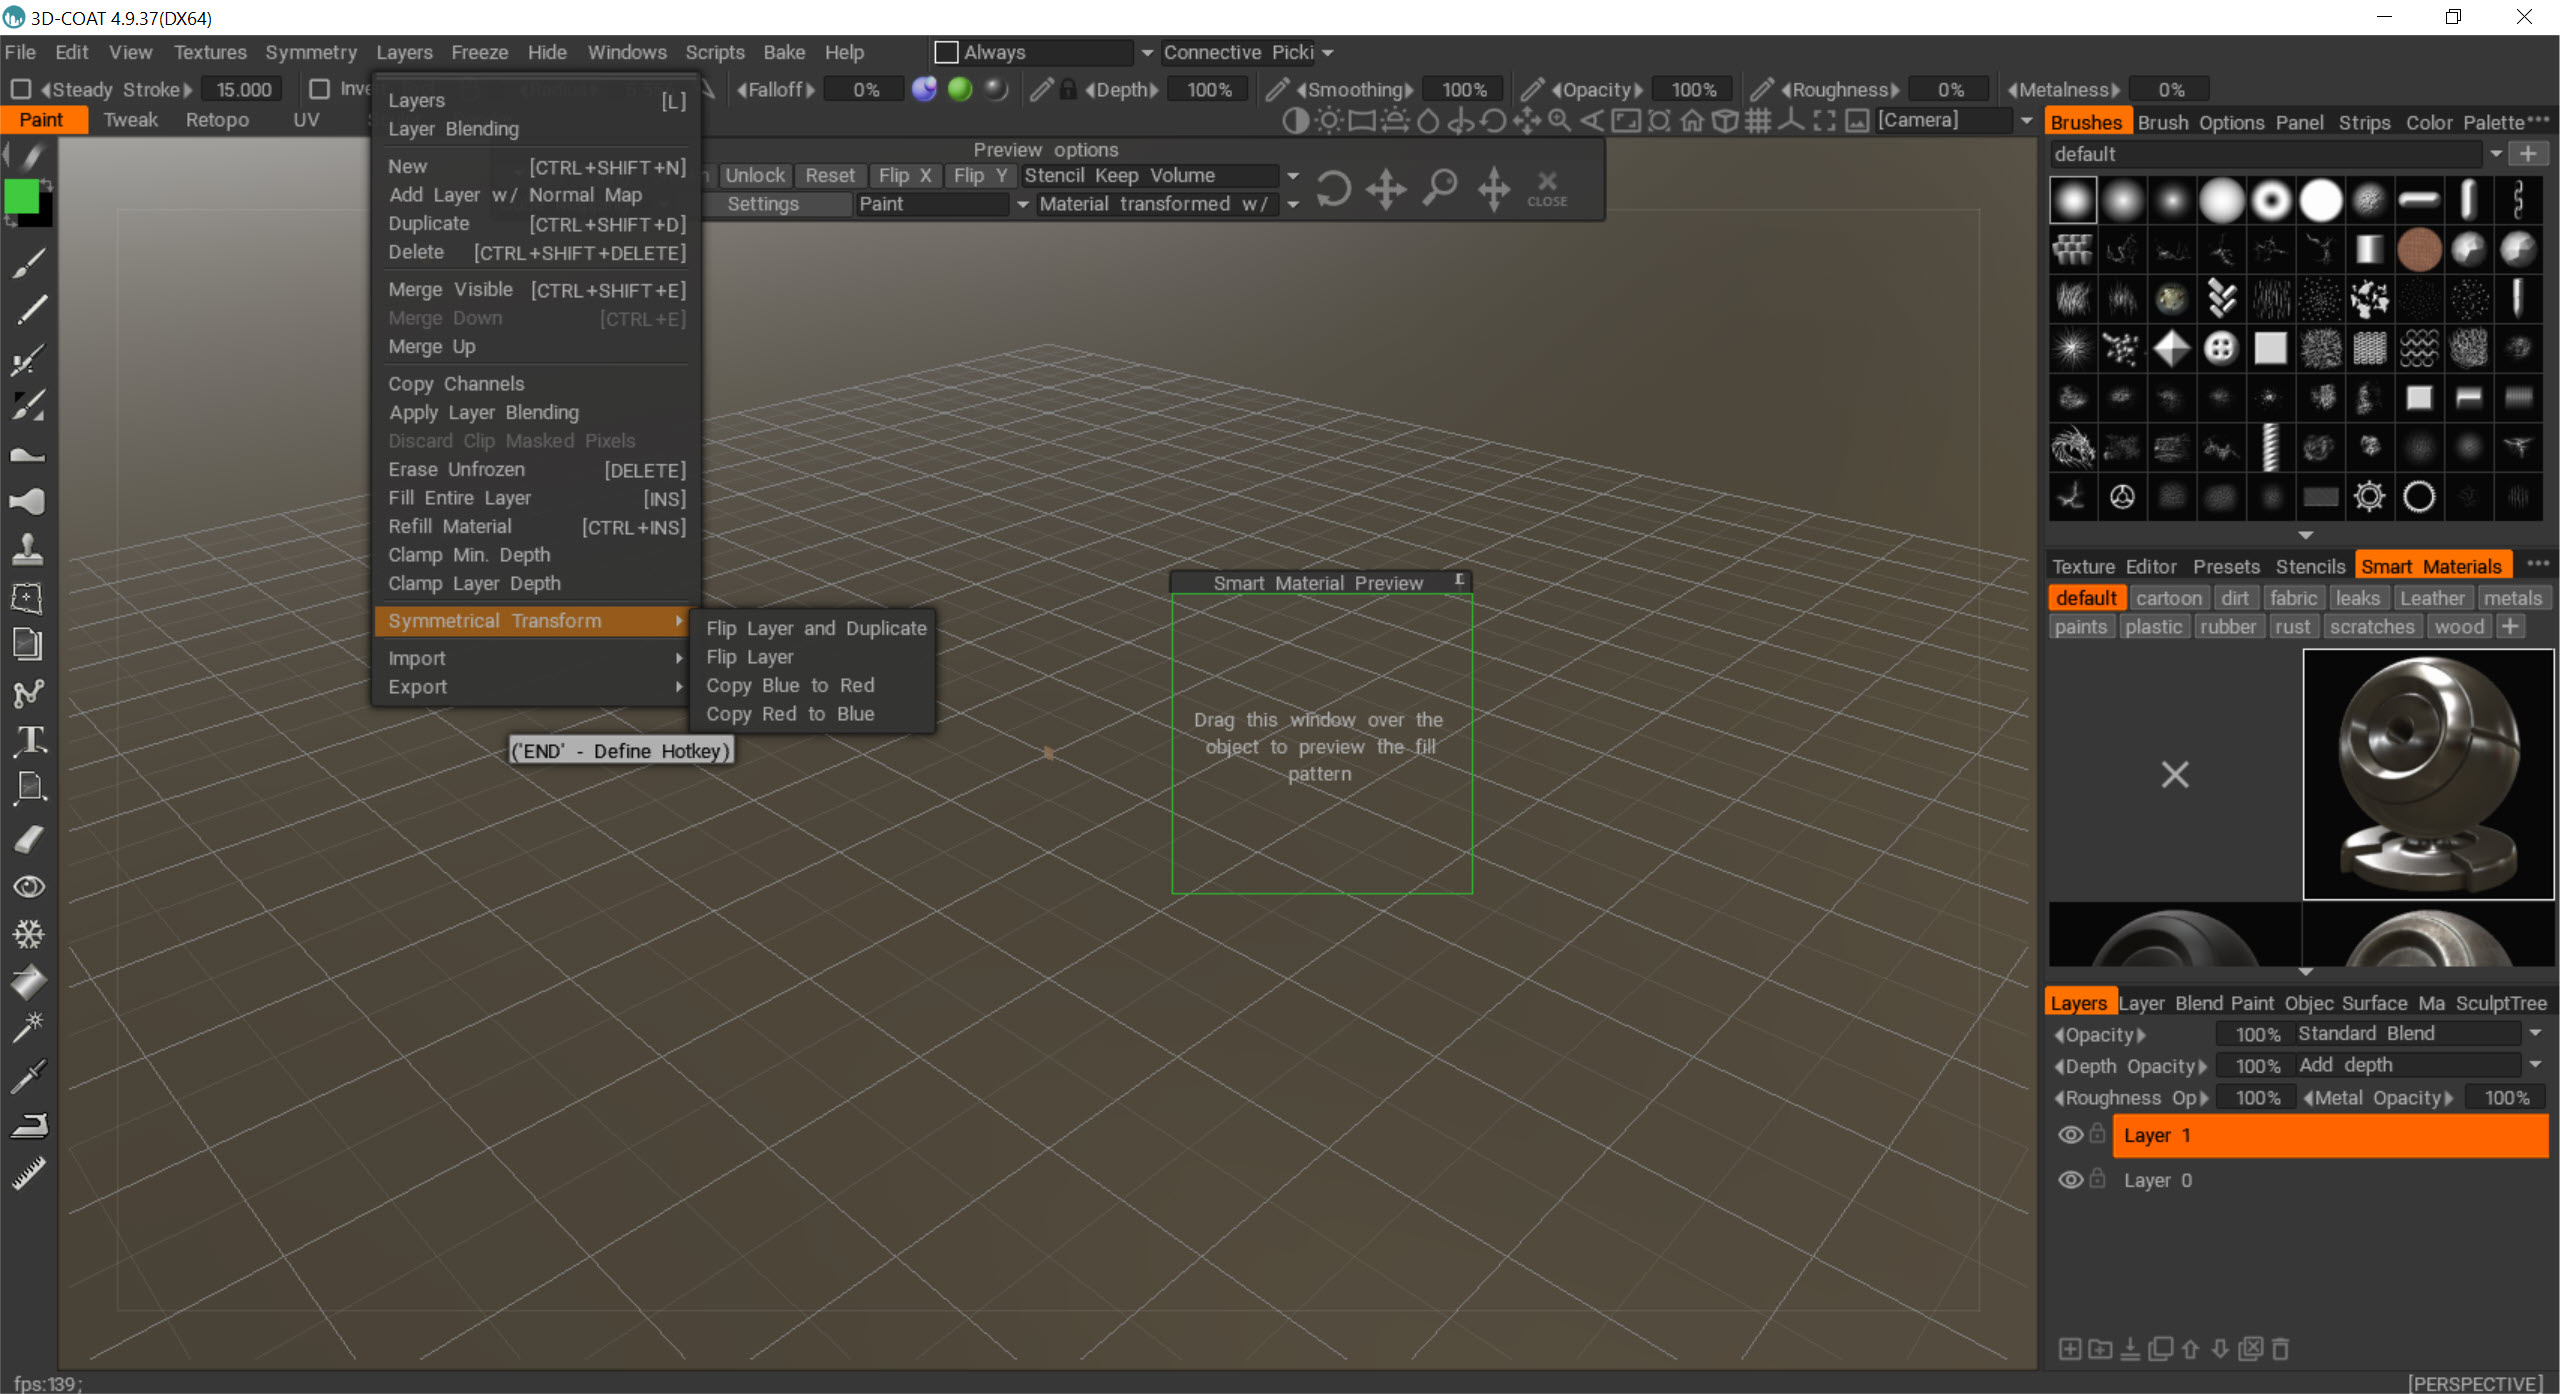
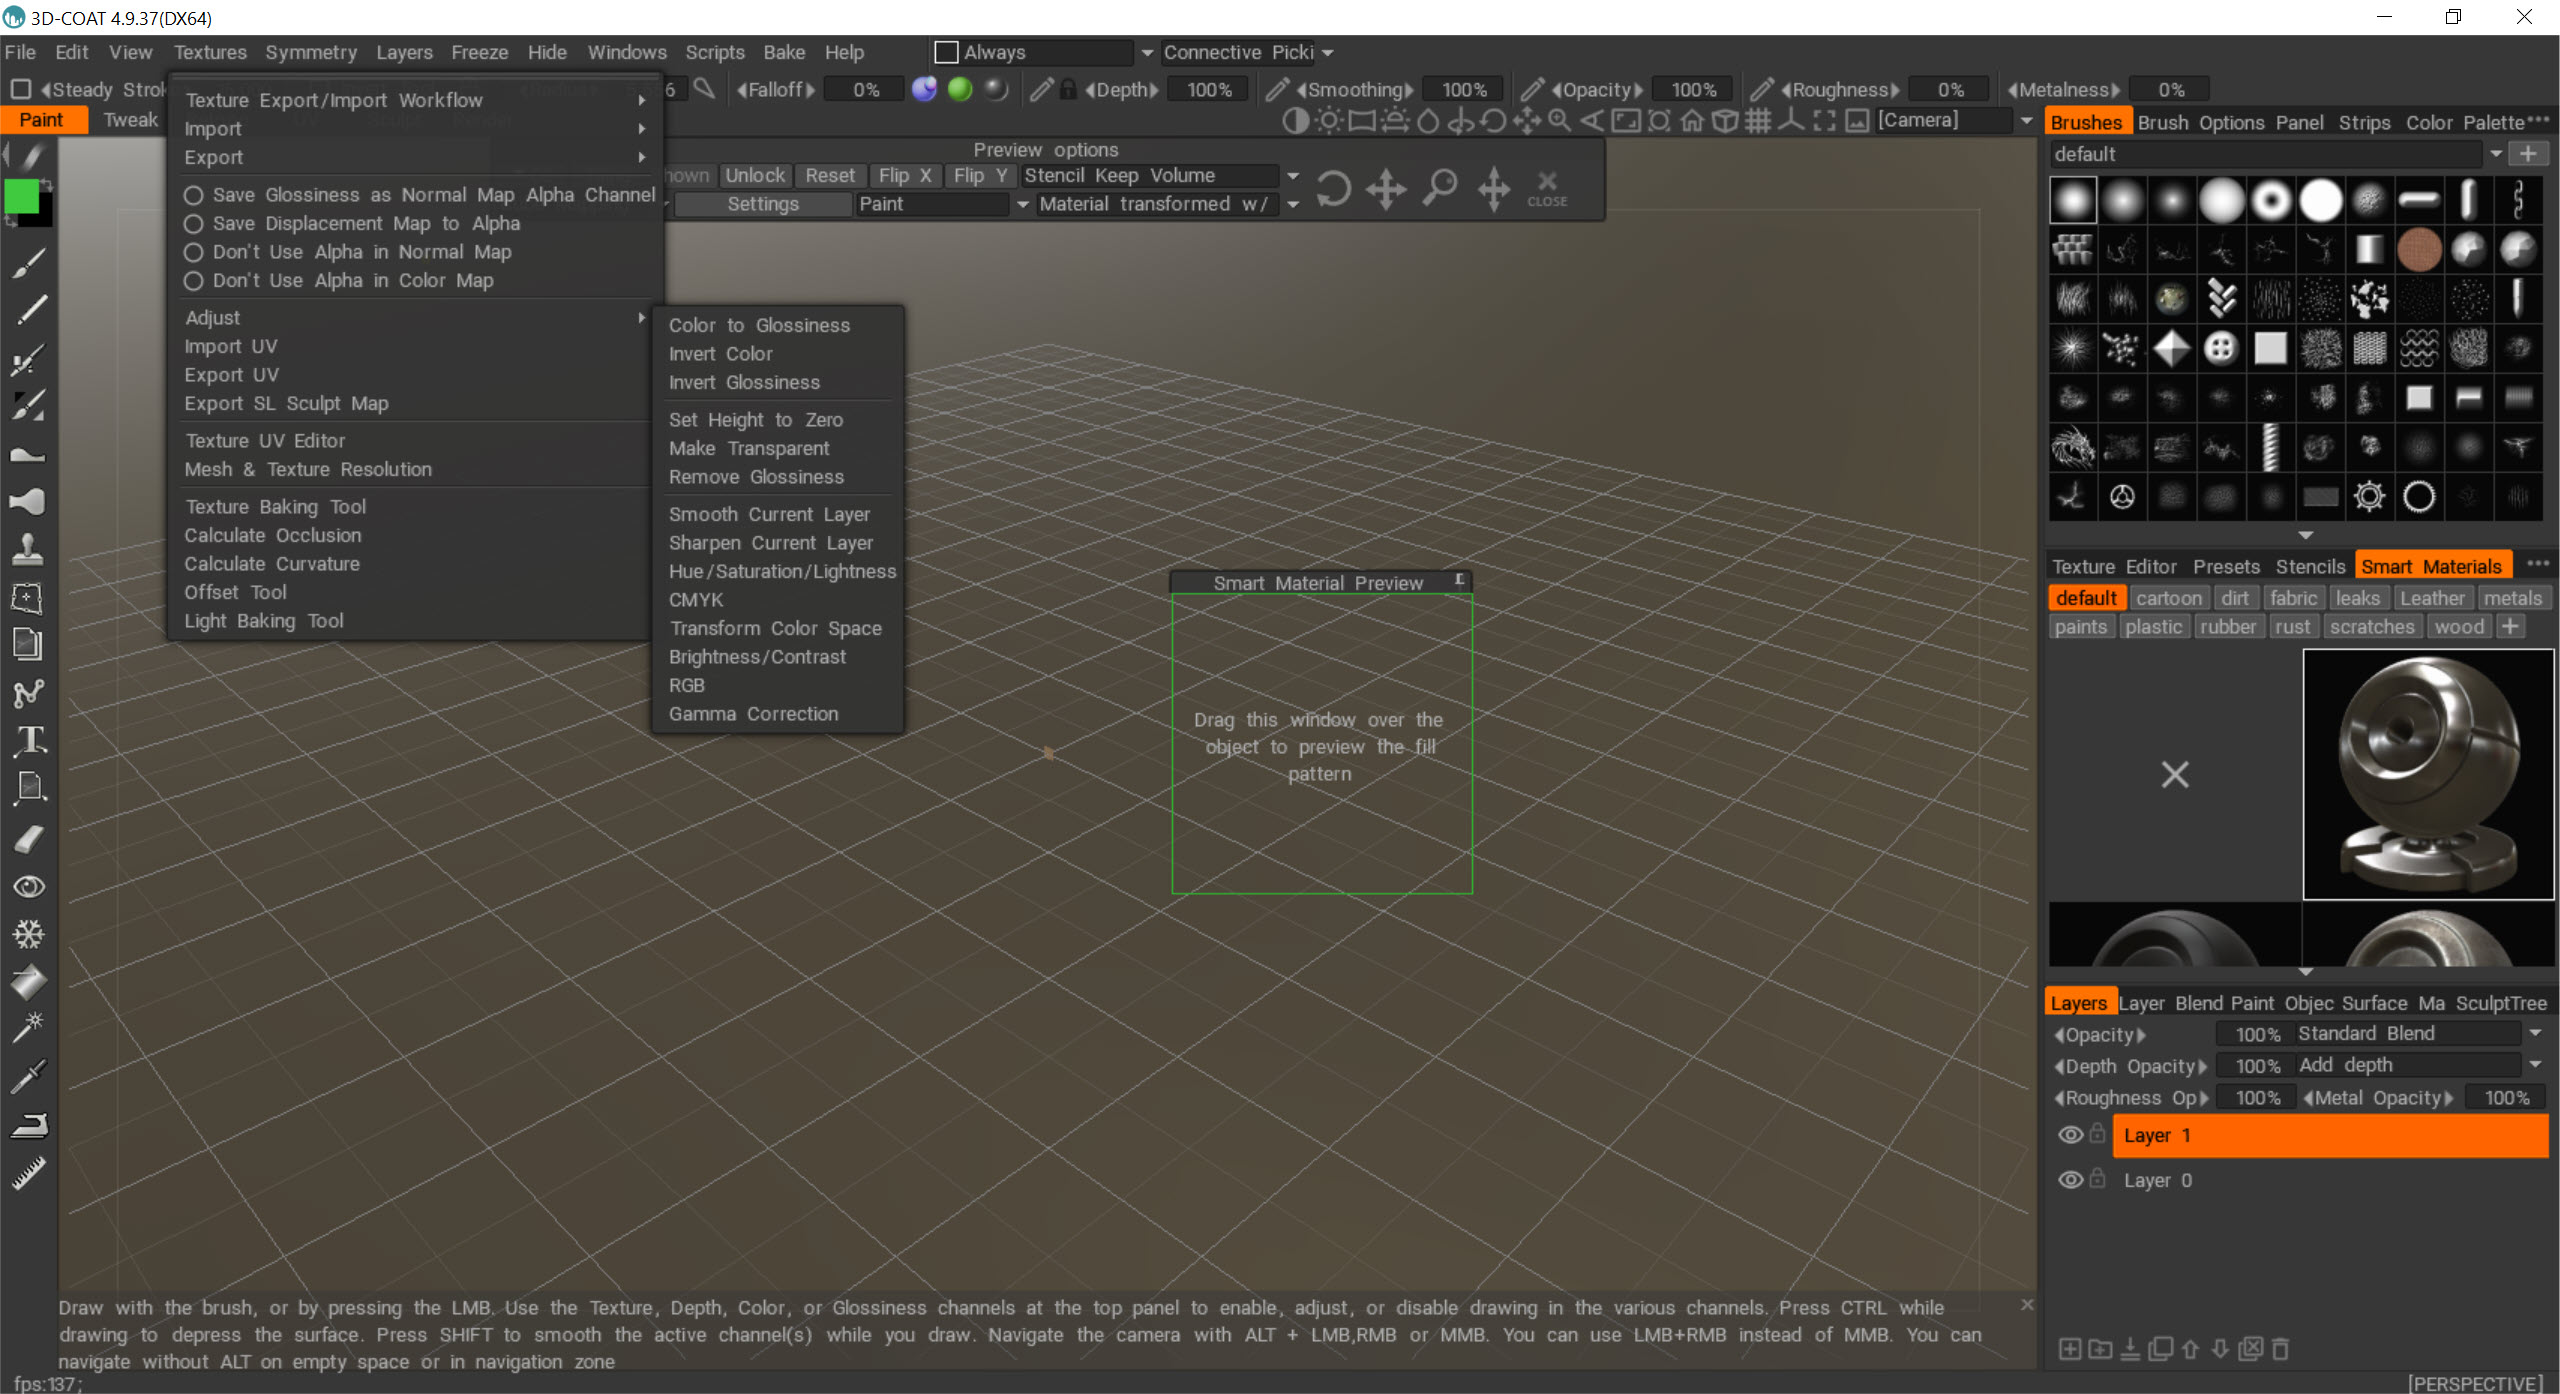
The interface is the honest weakness of 3D Coat. Seven rooms, each with dozens of tools, a brush engine with a separate options panel, and menus that change depending on context. The first week feels like learning several programs at once, because in a sense you are.
Knowing five brushes well, Clay, Smooth, Flatten, Move and a cutter, gets you further than skimming fifty. Beginners who find it overwhelming often warm up in a simpler clay-style sculptor first.
Holding Shift with any brush switches to Smooth temporarily, which is the fastest way to clean up strokes. Tricks like that matter because the documentation is thorough but dense, and most learning happens through video tutorials rather than the manual.
Conclusion
3D Coat suits artists who want sculpting, retopology, UVs and texturing in one place, and who appreciate being able to sculpt without thinking about polygons at all. Game artists building props and characters, concept artists who want fast volumetric blocking, and anyone tired of exporting between four programs will find the pipeline its strongest argument.
It asks a lot in return. The interface takes weeks to feel natural and the hardware appetite at high voxel counts is real. Start in voxel mode, learn a handful of brushes properly, lean on Autopo for your first assets, and the rest of the rooms will make sense one at a time.
Pros & Cons
- Voxel sculpting with no topology limits during the form stage
- Live Booleans for fast hard surface modelling
- Autopo produces a clean quad mesh as a retopology starting point
- Paint room with PBR layers, Smart Materials and textures up to 16K
- Full pipeline from sculpt to textured asset in one application
- AppLink bridges models and textures to other 3D programs
- Very high voxel counts need large amounts of memory and a strong GPU
- Interface is dense, with seven rooms and context-sensitive menus
- AppLink setup fails silently if paths are misconfigured
- Documentation is thorough but hard to search
Frequently asked questions
Voxel mode treats the model as solid volume, ideal for blocking out form and Booleans. Surface mode switches to polygons for fine detail and runs faster at high resolution.
Yes. Autopo generates a quad-based mesh over the sculpt. Enable symmetry and draw guide strokes for better edge flow, then refine by hand where needed.
For many projects, yes. The Paint room supports PBR layers, Smart Materials, procedural nodes and textures up to 16K.
The voxel resolution is likely too high for your memory or GPU. Lower it, or switch to surface mode for the detail pass.


