Adobe Camera Raw

 (15 votes, average: 4.33 out of 5)
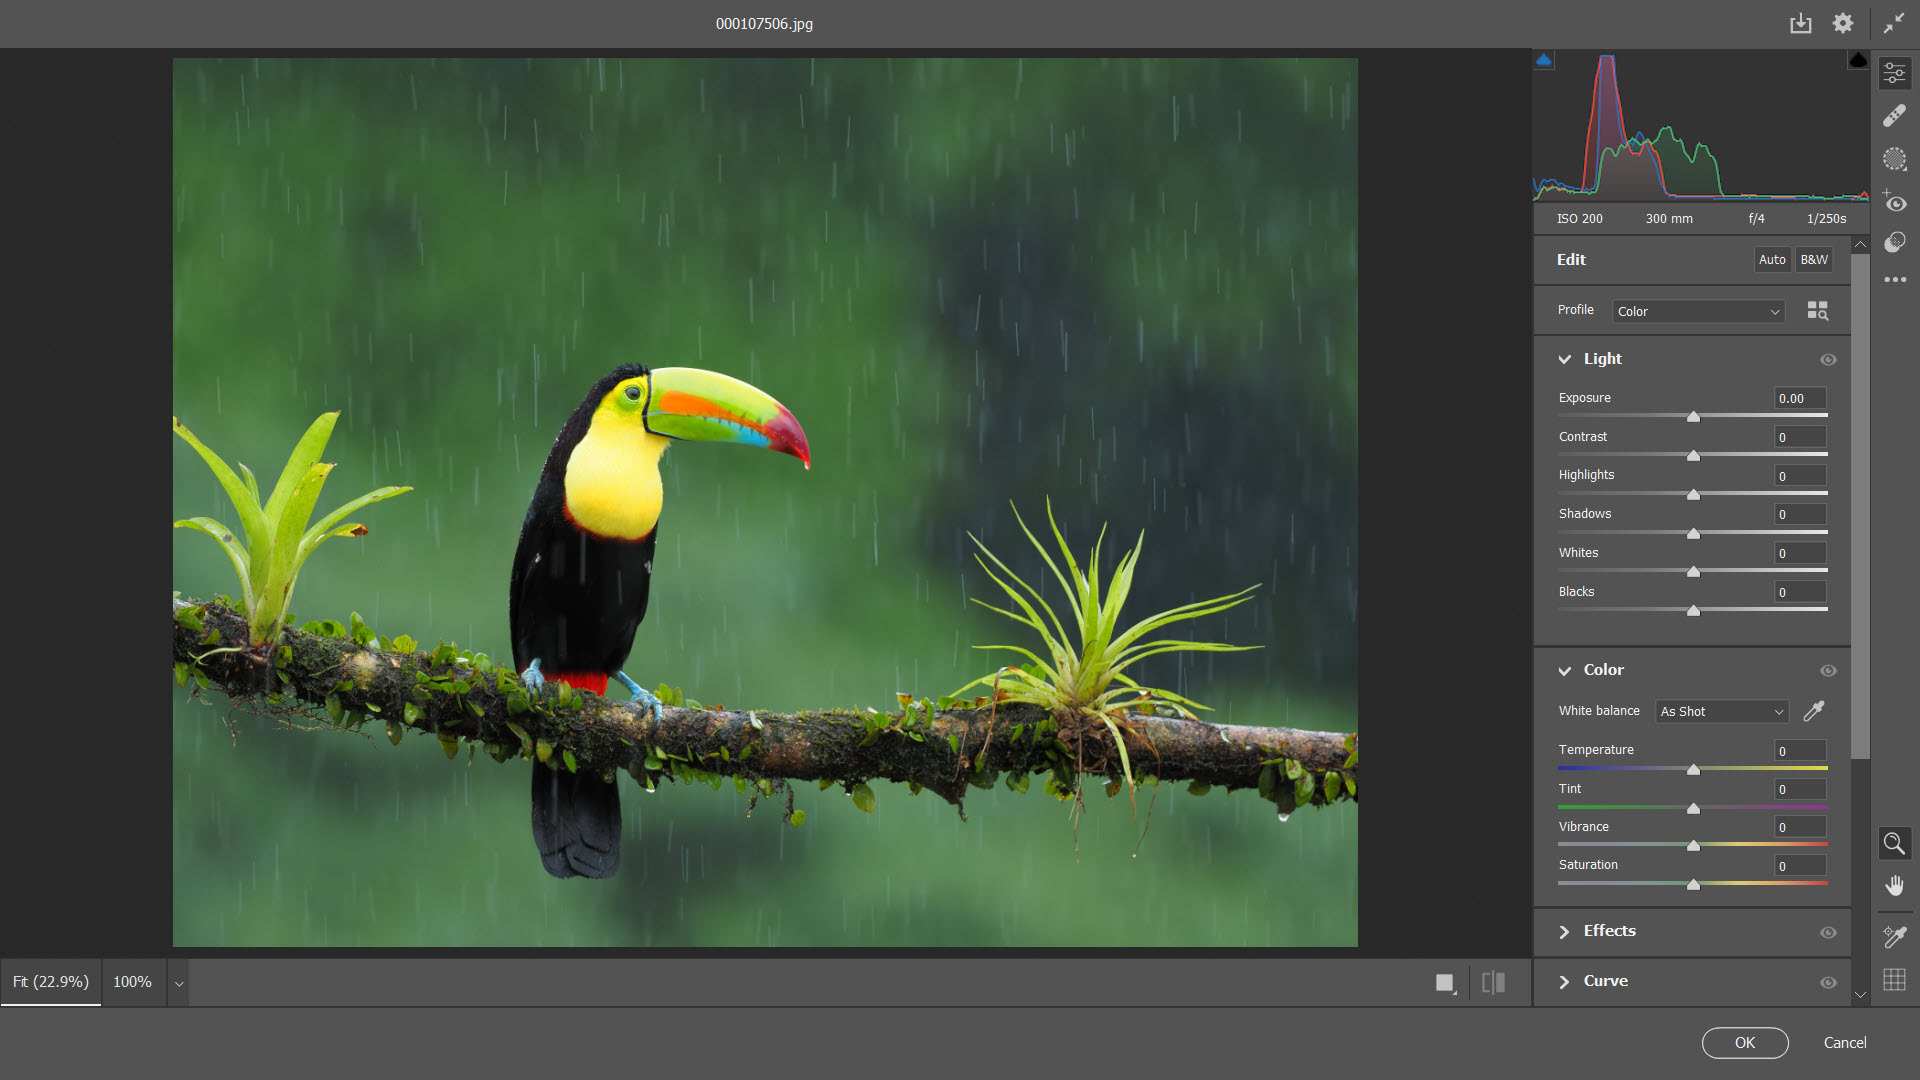
About Adobe Camera Raw
Adobe Camera Raw is the plugin that handles raw photo files inside Photoshop, Photoshop Elements, and Bridge. It’s not a standalone editor. You don’t launch it from a Start menu entry. You open a raw file in one of the host applications and the Adobe Camera Raw window takes over until you finish processing the image, at which point it hands the result back to the host for compositing or export.
This is worth saying clearly because a lot of new photographers come looking for it expecting a separate application and end up confused. The plugin is what Lightroom uses behind the scenes for its Develop module, so if you already know Lightroom’s color and tone controls, you already know roughly 95% of Adobe Camera Raw.
The interface is different, but the engine, the sliders, the parametric edits, the way settings get embedded in sidecar files, all of that is the same code under the hood.
What the plugin actually is and where it runs
Adobe Camera Raw is a non-destructive raw processor. It reads sensor data from supported cameras, applies adjustments as instructions stored separately from the image, and renders a final result only at the moment you export or pass the image to the host application. The original file never changes. If you want to revisit settings six months later, the slider positions are still exactly where you left them.
The plugin installs alongside any Photoshop or Bridge installation that supports it. Opening a raw file from Bridge by double-clicking, or from Photoshop with File → Open, launches the Adobe Camera Raw interface as a modal dialog with the image on the left, a tool strip on the right, and the parametric controls in a tabbed panel beneath the histogram.
JPEG and TIFF files can also be opened in the plugin by changing the file association in Bridge preferences or by Shift-clicking the Open command in Photoshop.
Camera support is broad. Most current Canon, Nikon, Sony, Fujifilm, Olympus, Panasonic, Pentax, Leica, and phone manufacturers’ raw formats are recognized, including iPhone and Android computational raw (DNG and proprietary). Newer cameras occasionally take a few updates to land, so a freshly released body might need a plugin update before its files open natively.
The DNG converter handles the gap for unsupported formats by transcoding to Adobe DNG, which is then readable by any Adobe Camera Raw version.
The engine that powers Lightroom and Bridge
This is where the structural relationship matters. Lightroom’s Develop module is the same engine as Adobe Camera Raw. The two share settings via sidecar XMP files and via the DNG header. Edit a raw file in Lightroom, then open it in Photoshop through Bridge, and the Adobe Camera Raw dialog reflects every adjustment you made in Lightroom. Move a slider in either application and the other will see the change.
The practical effect is that you can pick your workflow based on how you organize your library. Lightroom-centric workflows lean on the catalog database and the keyword/collection system. Bridge-centric workflows treat the file system as the database and use Bridge as a fast image browser. Both end at the same raw conversion engine.
If your library doesn’t justify a catalog application, RawTherapee is a comparable raw processor with no host application required, though it doesn’t share Adobe Camera Raw‘s integration with Photoshop’s pixel-level editing.
The dual workflow also explains why Adobe Camera Raw receives updates on a roughly synchronized cadence with Lightroom. New camera profiles, new lens corrections, new AI masking features tend to appear in both at roughly the same time.
The raw conversion pipeline and what gets edited
The first decision when you open a raw file is the color profile. Adobe Camera Raw ships with a set of camera-matching profiles (Adobe Color, Adobe Standard, Adobe Portrait, Adobe Landscape, Adobe Vivid, Adobe Neutral, and Adobe Monochrome) plus a category of camera-specific profiles that emulate the in-camera film simulations from the major manufacturers.
Fujifilm’s Provia, Velvia, Astia, Classic Chrome, and the rest appear as native profile options for Fujifilm raw files. Nikon’s Picture Controls and Canon’s Picture Styles work similarly for those brands.
After the profile, the workflow follows roughly this order. White balance and tint, exposure, contrast, highlights and shadows, whites and blacks, texture, clarity, dehaze, vibrance and saturation.
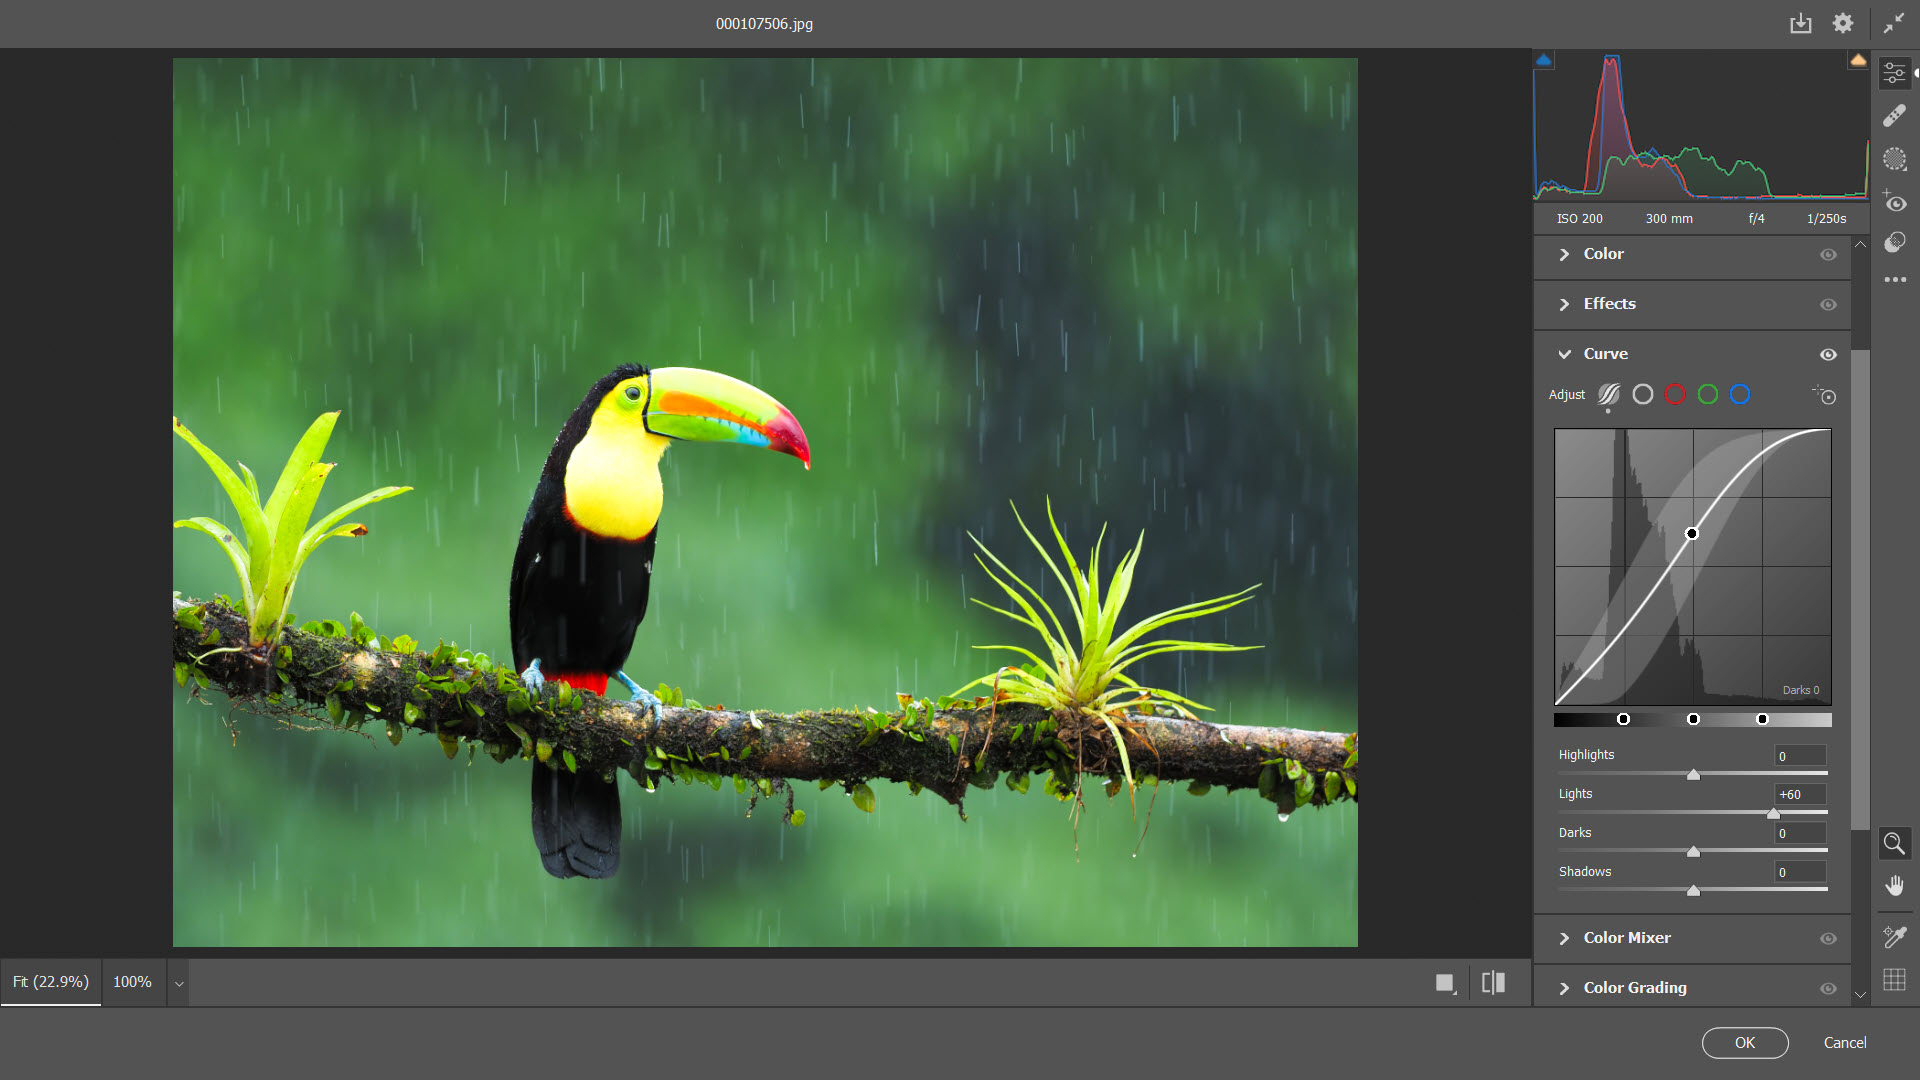
Then color grading on shadows, midtones, and highlights with a wheel-based interface. Then tone curve adjustments per channel. Then HSL fine-tuning of eight color ranges independently. Then detail panel for sharpening and noise reduction.
Each of these is reversible and can be saved as a preset. The preset system in Adobe Camera Raw is the same set of XMP files as Lightroom, so a preset you bought from a photographer five years ago for Lightroom will work in Adobe Camera Raw without conversion.
Local adjustments, masking, and AI selections
The Masking panel is where the modern plugin pulls ahead of older raw processors. The legacy gradient, radial, and brush tools are still there, but they’re now joined by AI-driven Select Subject, Select Sky, Select Background, Select Objects, Select People (with sub-masks for skin, eyes, lips, hair, clothing, body, teeth), and a Select Person tool that detects individuals separately.
These are not just selection tools. Each mask gets the full panel of local adjustments (exposure, contrast, color, sharpness, noise reduction, defringe, dehaze, texture, clarity, plus a luminance and color range refinement). You can intersect masks, subtract masks, and stack adjustments per region. A landscape with separate sky, mountain, and foreground masks, each with their own exposure and color, takes about a minute to set up where it used to take five.
The masks travel with the file in the XMP sidecar, so opening the same image in Lightroom later shows the same masks ready to edit.
Quality of the AI selections is generally good on cleanly lit subjects and mediocre on edge cases (translucent hair, complex foliage against busy backgrounds, low-light scenes with noise). Refinement tools handle the typical errors. For radical retouching that needs perfect selections, you’ll still want to roundtrip into Photoshop proper. For most editorial and portrait work, the in-plugin masks are good enough to skip that step.
Lens profiles, geometry, and chromatic aberration
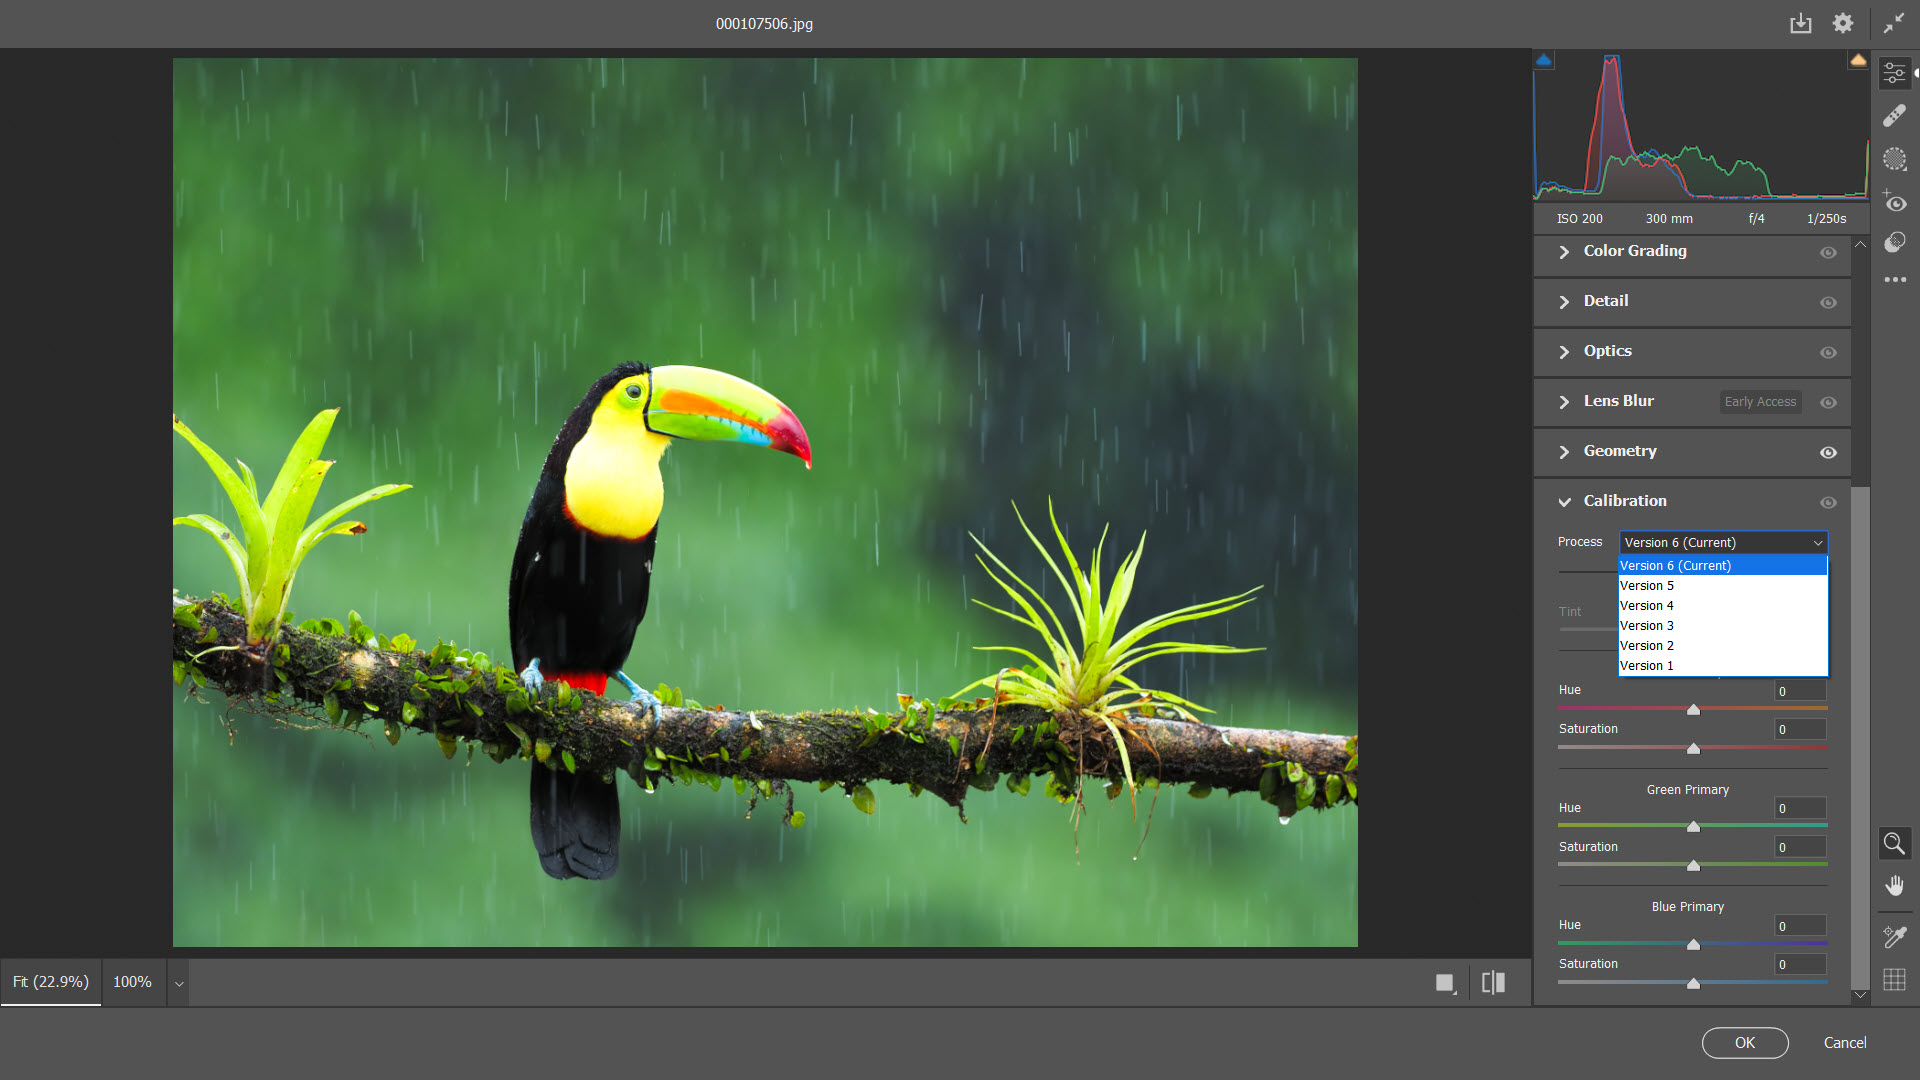
The Optics panel handles three related problems. Lens distortion correction reads EXIF data, looks up a matching lens profile from the built-in database, and applies geometric correction (barrel, pincushion, mustache) automatically. Vignette correction brightens corners that fall off naturally with most lenses. Chromatic aberration removal eliminates the colored fringes that appear at high-contrast edges, particularly with fast primes wide open.
The lens profile database is large but not infinite. Vintage glass, manual lenses without electronic communication, and adapted lenses often need manual correction or a third-party profile. The Manual tab gives you sliders for distortion, vertical and horizontal perspective, rotate, scale, and aspect, plus an X and Y offset, which together can handle almost any geometric correction by eye.
The Geometry panel adds Upright modes for automatic perspective correction. Auto, Level, Vertical, and Full each apply increasingly aggressive transformations to straighten architecture. Full is impressive when it works, occasionally bizarre when it misreads the scene, and worth experimenting with before committing.
Working with non-raw files
JPEG, TIFF, and HEIC files can be processed in Adobe Camera Raw with all the same tools, with some technical caveats. JPEGs have already been through demosaicing, white balance, contrast, and noise reduction in-camera, so the available dynamic range is much lower than a raw file. Pulling back highlights or pushing shadows on a JPEG produces visible banding far sooner than the equivalent operation on a raw file.
That said, the parametric editing model still applies. Your JPEG edits are stored in a sidecar file and don’t modify the original. You can apply presets, use the same masking tools, and roundtrip to Photoshop. For users who shoot JPEG-only (common with phone photography) this is still a meaningfully more capable workflow than editing in Photoshop’s pixel layers directly.
For format-rich workflows that mix raw, JPEG, TIFF, and HEIC, the consistency across formats is welcome.
HEIC support has been generally good but depends on the codec being present on your system, which it usually is on modern installs.
The Photoshop handoff and Smart Object route
When you click Open or Done in the Adobe Camera Raw dialog from Photoshop, the image passes to Photoshop as a flattened raster layer. The plugin’s edits are baked in at that point and you can’t go back to the slider panel without reopening the raw file from scratch.
There’s a workaround that’s worth knowing. Holding Shift while clicking the Open button (which changes the button to “Open Object”) passes the image into Photoshop as a Smart Object.
Double-clicking the Smart Object layer reopens Adobe Camera Raw with all the previous settings, lets you adjust them, and updates the Smart Object on confirm. This is the cleanest way to keep parametric raw edits alive inside a composited Photoshop document.
The trade-off is file size. Smart Object Photoshop files are larger than flattened ones because the original raw data is embedded.
Conclusion
Adobe Camera Raw is the right pick for anyone who already works in Photoshop and wants raw processing without leaving that environment. The fact that it shares an engine with Lightroom means your edits are portable between the two host applications, and the AI-driven masking has closed most of the gap between the plugin and a full standalone raw editor. For Photoshop users who edit raw files even occasionally, ignoring the plugin and trying to edit the demosaiced image in pixel layers is a worse workflow in every measurable way.
The limitation is the dependency. You need a Photoshop or Bridge install for the plugin to run, which makes it a non-starter for anyone not already in that ecosystem.
For those users, a standalone raw editor like RawTherapee or a subscription-free alternative like Affinity Photo covers similar ground with different trade-offs in color science and feature depth.
Adobe Camera Raw wins on integration and on the consistency between its outputs and Lightroom’s, which is exactly what you’d expect from a plugin built by the same team that makes the catalog application most working photographers use to organize their archives.
Pros & Cons
- Same engine as Lightroom's Develop module, settings shared via XMP
- AI-driven Select Subject, Sky, Background, Object, and People masks with full per-mask adjustments
- Broad camera and lens profile database with automatic correction by EXIF lookup
- Native support for major manufacturer film simulations as starting profiles
- Non-destructive parametric editing with reversible history at any point
- Smart Object integration with Photoshop keeps raw edits live inside composites
- Not standalone, requires Photoshop, Photoshop Elements, or Bridge as a host
- AI masks can struggle on hair, foliage, and low-light scenes without refinement
- Lens profile database doesn't cover vintage or specialty glass
- Modal dialog interface feels heavy compared to a docked panel approach
- Local adjustment refinement still occasionally requires a trip into Photoshop proper
Frequently asked questions
It's a non-destructive raw photo processor that runs as a plugin inside Photoshop, Photoshop Elements, and Bridge. It reads raw files from supported cameras, applies edits as reversible parametric instructions, and renders the result when you pass the image to the host application or export it.
The engine is the same. Adobe Camera Raw is the plugin version of what Lightroom's Develop module uses internally. Settings made in either application are stored in XMP sidecar files and recognized by the other. The main difference is the host environment, Lightroom adds a catalog database and library management around the editing engine.
Yes. It opens JPEG, TIFF, HEIC, and DNG files in addition to camera raw formats, with all the same editing tools available. The dynamic range available for adjustments is lower on non-raw files because the image has already been through demosaicing and tone mapping.
Most current and recent cameras from Canon, Nikon, Sony, Fujifilm, Olympus, Panasonic, Pentax, Leica, Sigma, and phone manufacturers. New cameras sometimes take an update or two to land. The DNG converter handles unsupported formats by transcoding to Adobe DNG first.
Hold Shift when clicking Open in the plugin, which changes the button to Open Object. The image enters Photoshop as a Smart Object. Double-clicking the Smart Object thumbnail reopens Adobe Camera Raw with all previous settings intact for further editing.
Adobe Camera Raw is tightly integrated with Photoshop and Bridge and shares its engine with Lightroom. RawTherapee is a standalone raw processor with no host application. RawTherapee is fully free and more open in its color science, but lacks the Photoshop integration and the AI masking features.
Yes. The Merge feature combines multiple exposures into an HDR DNG file or stitches multiple frames into a panoramic DNG, both of which can then be processed with the full slider panel as regular raw files. For more specialized HDR work, dedicated tools like easyHDR Pro or Photomatix Pro offer more tone-mapping control.
For raw files, in an XMP sidecar file next to the original raw file. For DNG files, embedded in the DNG header itself. For JPEG and TIFF, in a sidecar file. The original image data is never modified.
On my Dell Laptop (win 11; i7; 16GB Ram)) ACR 16.3.1 crashes with a graphic card error after one “Lens Blur” use. Apparently Lens Blur uses AI and is very Graphic Card intensive. Dell tells me that only a current LapTop ($2300) will solve the Lens Blur crash problem