

Sony Mobile Flasher
About Sony Mobile Flasher
Sony Mobile Flasher writes firmware images straight onto an Xperia phone over USB, using the S1 protocol that Xperia hardware exposes in flashmode. Feed it an FTF file, tick a few boxes, hold Volume Down while you plug the cable in, and the tool pushes each partition image onto the handset while a log pane narrates every step.
It belongs to the family of manufacturer-specific flashing utilities, next to Odin3 for Samsung handsets. Each phone brand invented its own protocol for talking to a powered-down device, so there is no universal flasher, and this one answers for Xperia.
What sets it apart from most of its neighbours is that bootloader unlocking is built in rather than farmed out to a separate utility. There is no wizard, though, and no explanation of the checkboxes, so the model check matters more than anything below.
Building your own FTF from a downloaded firmware folder
An FTF is a zip archive holding one .sin image per partition, covering the bootloader, kernel, modem and the rest, alongside .ta files carrying Trim Area data and an .fsc filesystem config. Sony Mobile Flasher unpacks that structure, checks it, then writes each image in turn. Preparation runs for several minutes before the phone is even asked to connect, which catches people out because nothing appears to be happening.
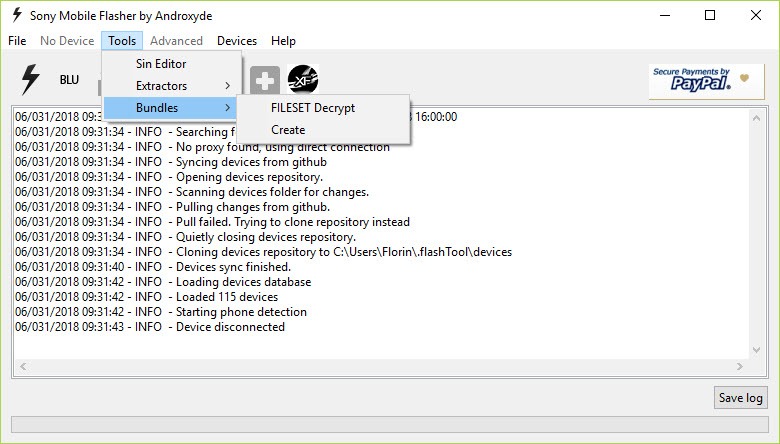
Firmware rarely arrives as a ready-made FTF. The usual route is to pull a stock package for your exact model number and market with XperiFirm, which lands as a folder of loose files, then use the bundle creator here to wrap it. You point at the folder, pick the model from a device list, type in branding and version labels, and choose which of the extracted files belong in the archive.
Finished bundles go into a .flashTool folder in your user profile, and the flash dialog reads from there. It is a two-application workflow that a single integrated tool would handle better, similar to how a firmware downloader for another phone brand fetches packages that a separate flasher then applies.
The Wipe and Exclude checkboxes, where the mistakes happen
Two columns of checkboxes sit beside the file list. Wipe covers DATA, CACHE and APPSLOG. Exclude covers BOOTBUNDLE, PARTITION, KERNEL, FOTA, TA and SYSTEM, and every one of them has consequences the interface never explains.
Here is the example that shows why this matters. Flash a regional firmware built for a handset with 16 GB of storage onto the 32 GB variant of the same phone without excluding PARTITION, and the phone comes back reporting 16 GB. The extra storage is still there, just no longer described by the partition table you overwrote. Excluding PARTITION on any cross-region flash avoids the whole problem.
TA deserves the same caution, since Trim Area holds device-specific data, and BOOTBUNDLE mismatches on newer generations can leave a handset in a state that no amount of reflashing recovers. For a straightforward stock flash of the matching firmware, the correct answer is to exclude nothing and tick all three wipes, which is exactly the advice nobody follows the first time.
Bootloader unlocking and root access
The unlock function lives behind a single button in Sony Mobile Flasher and works on handsets whose bootloader is unlockable at all. Enter the code tied to your IMEI, put the phone into fastboot by holding Volume Up as you connect it, watch for the blue LED, and the bootloader opens. From there custom recovery and root are reachable, along with the kernel flashing that a locked bootloader refuses.
One thing to settle before you do it. On many Xperia models unlocking destroys the DRM keys stored on the device, and those keys drive some of the camera processing and display enhancement. The phone keeps working, the photos just stop looking quite the same.
That is a hardware design decision rather than a flaw in this tool, but nothing in the interface mentions it.
Reviving a handset that will not boot
Flashmode runs before anything on the phone loads, which is the reason Sony Mobile Flasher matters. A bootloop from a bad update, a corrupted system partition, a half-applied custom ROM, none of it prevents a flash, because the phone never gets far enough to be broken. The application does not even need to recognise the device to write to it.
Downgrading is the other capability nothing else offers. Over-the-air updates only move forward, and Sony Xperia Companion repairs a handset by reinstalling the newest build for that model. When a newer release breaks something and you want the previous one back, an FTF and this tool are the only route.
Which Xperia generations it still covers
Coverage is the hard limit. The S1 protocol belongs to a particular span of Xperia hardware, and later models moved to a delivery format this application never learned, which surfaces as partition delivery errors when you try. A few models brick outright, and some need the FSC file handled correctly or the same thing happens.
So check your exact model against known-working reports before you start, not after. If your goal is simply removing preinstalled apps rather than replacing firmware, a tool that strips bundled apps over ADB achieves that with none of the risk.
Conclusion
Sony Mobile Flasher is for a specific reader. If you own an older Xperia, you want it running something other than what the carrier put on it, and you are comfortable reading a forum thread about your exact model number before you touch anything, this is the tool that does the job and there is no real alternative for that hardware.
Everyone else should stay away, and the interface does nothing to disguise that. The checkboxes assume knowledge the application never teaches, the model compatibility question sits entirely on you, and the failure mode is a phone that no longer turns on. Approached with the right amount of caution, it recovers handsets that every official route has given up on.
Features & benefits
Pros & Cons
- Flashes FTF firmware over the S1 protocol without needing the phone to boot or even be recognised
- Bootloader unlocking is built in rather than requiring a separate utility
- The bundle creator turns a downloaded firmware folder into a flashable archive
- Per-partition Exclude options make cross-region flashing possible without wrecking the partition table
- Downgrading to an earlier build works, which over-the-air updates never allow
- The log pane reports every preparation and write step, so failures are diagnosable
- No check that the FTF you selected matches the handset you connected
- The Wipe and Exclude checkboxes are unlabelled acronyms with irreversible consequences
- Later Xperia generations are unsupported and fail with partition delivery errors
- Specific models brick, and the tool does not warn you about them
- Driver setup is fiddly and often needs signature enforcement disabled first
- Unlocking the bootloader destroys DRM keys on many models with no warning in the interface
Frequently asked questions
Handsets that speak the S1 flashmode protocol, which covers a long span of older Xperia generations but not the later ones. Newer models fail with partition delivery errors, and a few specific models brick when flashed this way, so check reports for your exact model number first.
No. Signed stock FTF files flash fine on a locked bootloader through flashmode. Unlocking is only required for custom kernels, custom recovery and root.
Yes, and it is one of the main reasons people use it. Tick DATA, CACHE and APPSLOG when you do, because carrying user data backwards across builds is what produces bootloops afterwards.
For a stock FTF that matches your model, nothing at all. Exclude PARTITION when flashing a build meant for a different storage variant or region, and treat TA with care, since it holds data specific to your device.
Almost always drivers. The bundled driver installer needs running first, and signature enforcement often has to be disabled before it will complete. Then power the phone off fully, hold Volume Down, and connect the cable, watching for the green LED that confirms flashmode.


